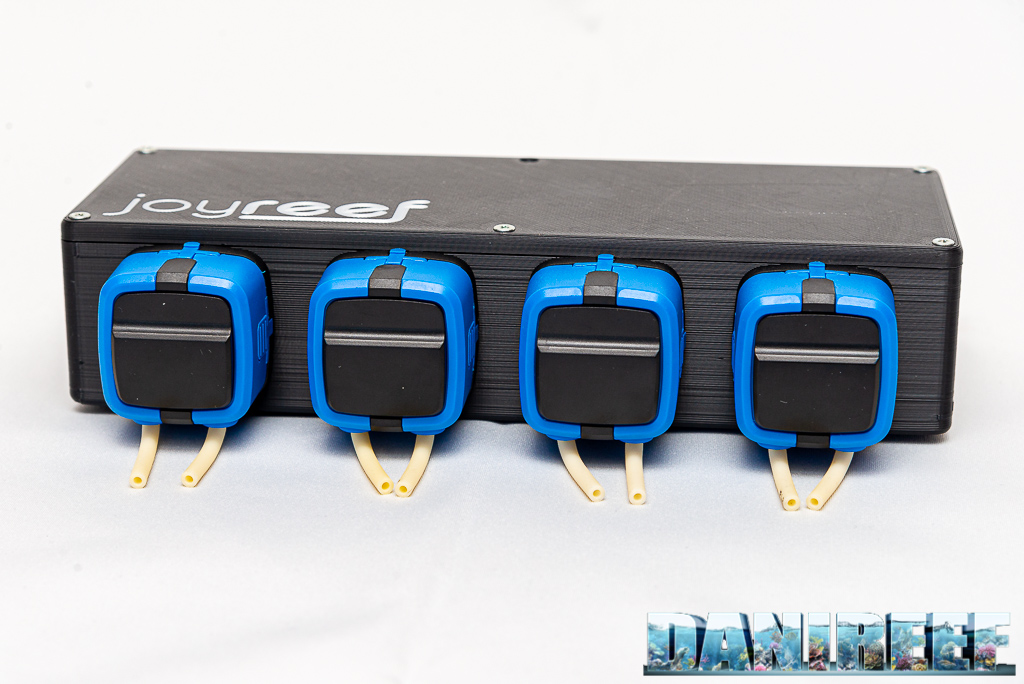
The dosing pumps by Joyreef are a really good alternative to the renowned versions. In this article we will show you why and how they have to be assembled and configured.
This article is also available in: italiano.
If someone told you about the existence of a set of dosing pumps, performing and economical, what would you think? Well, maybe there’s a catch somewhere. II thought it myself the first time I was told about these pumps. So I contacted Joyreef and asked for a kit to test, both for me and you.
I said “kit”, because we’re actually talking about an unassembled kit. The costs are contained because part of the work is yours. But, believe me, the assembling is so easy that even I made it, and I’m notoriously bad at DIY. The instructions are easy to read, but even without them it could be assembled.
The contain of the package
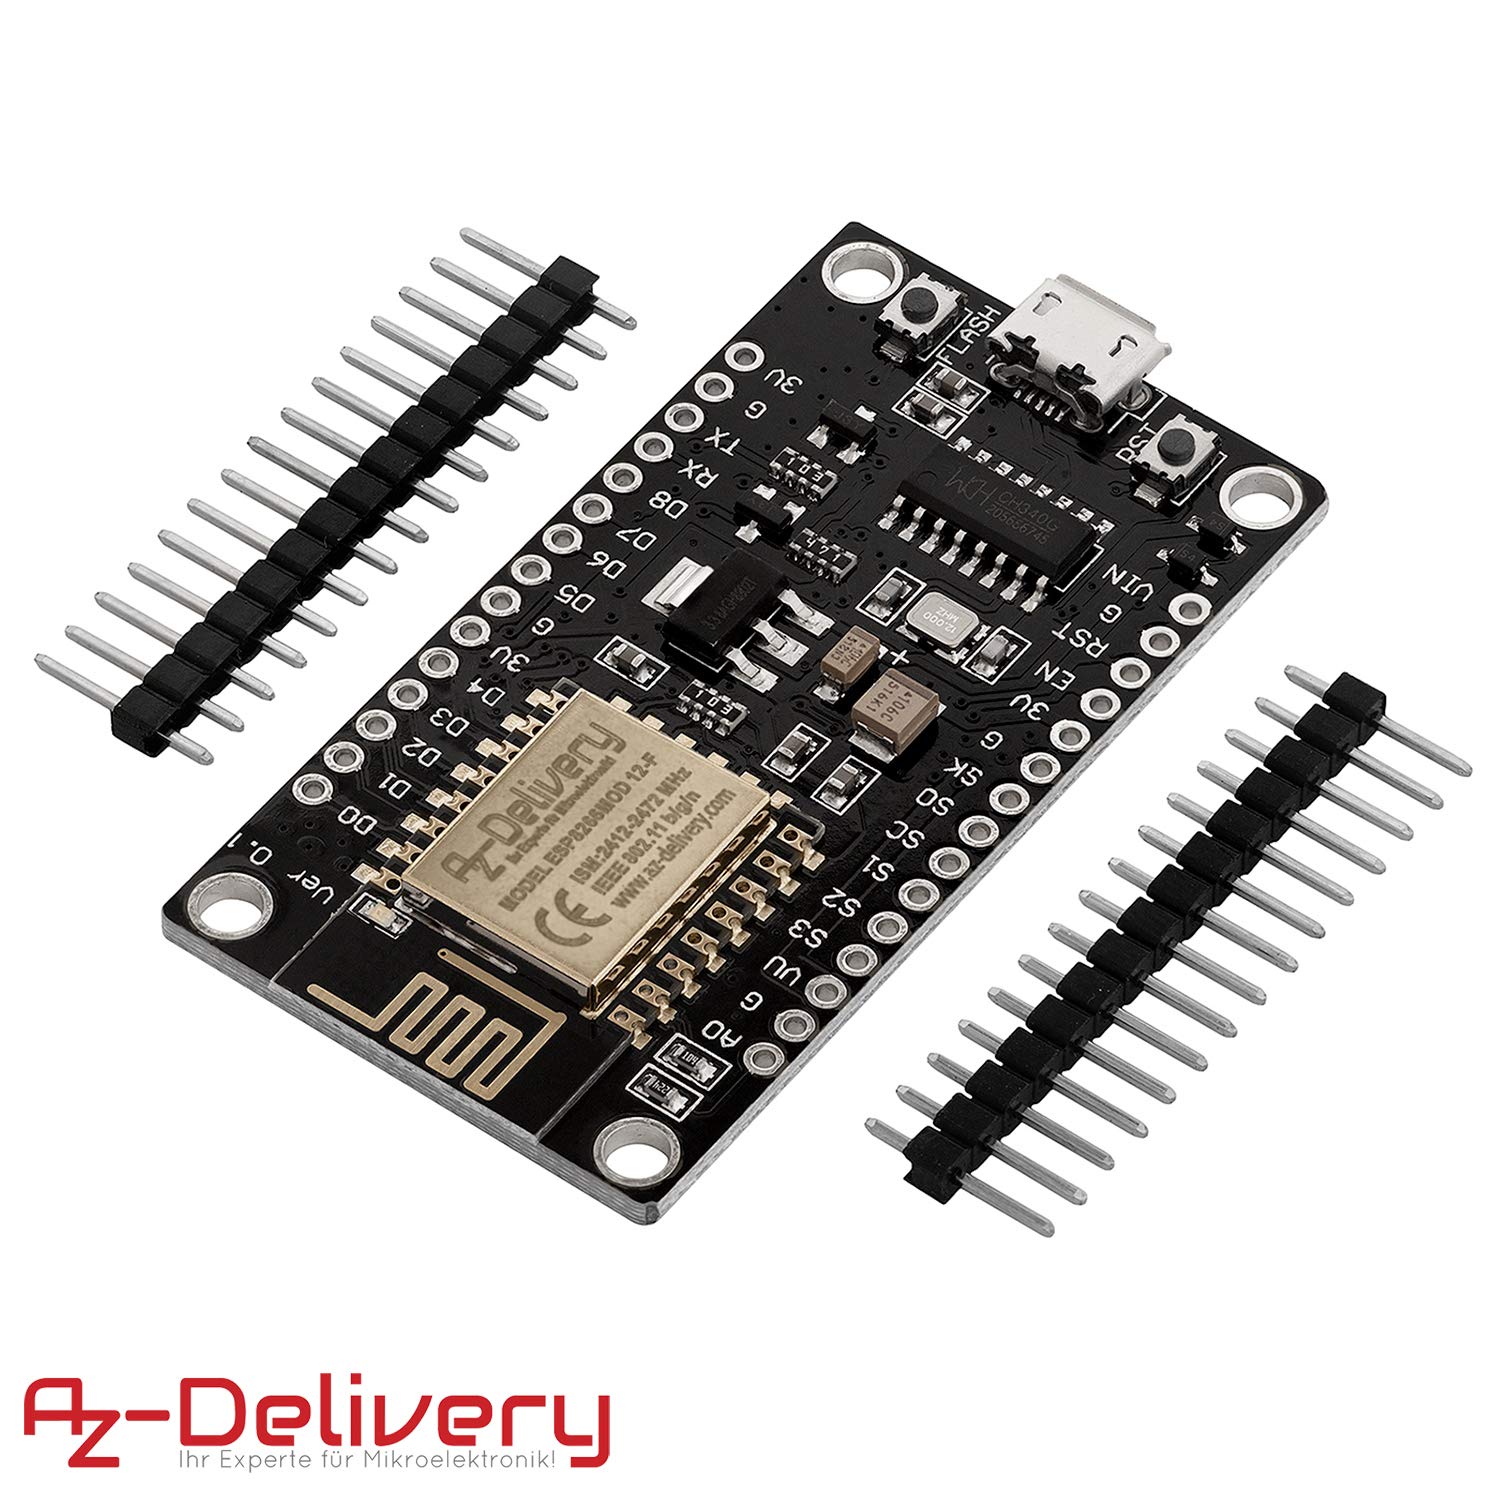
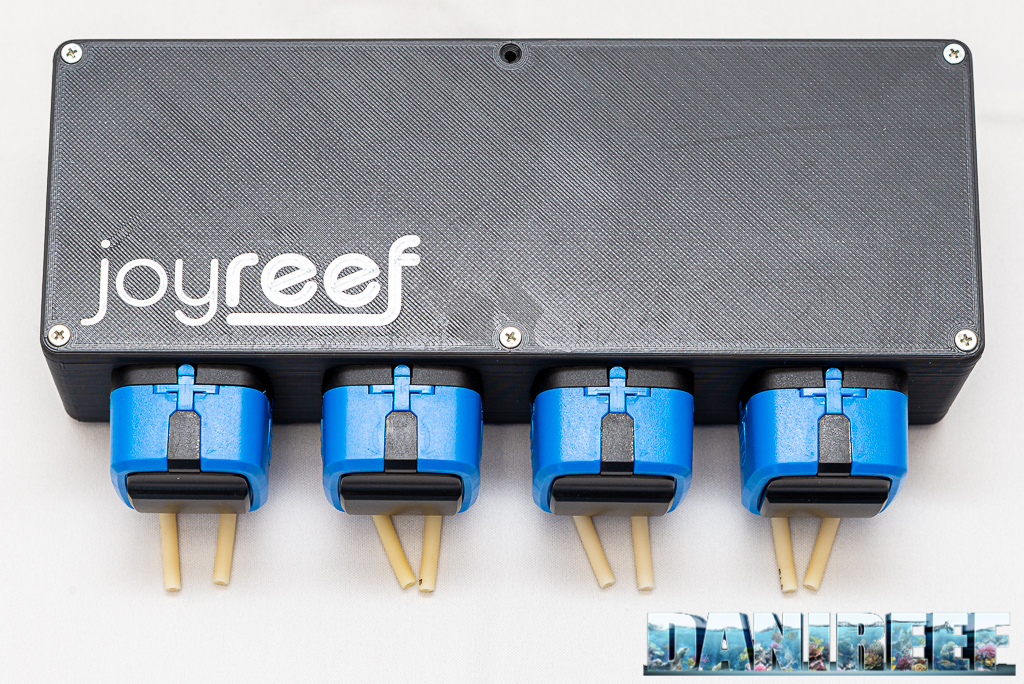
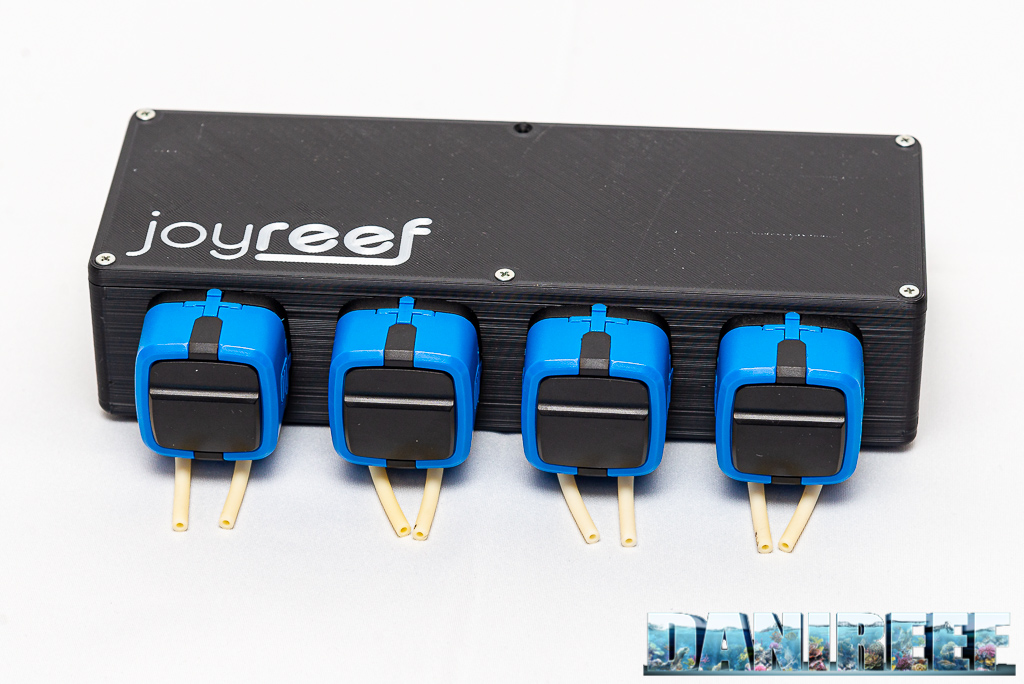
The kit we tested costs 150 euro and includes the box for the housing of the pumps, which are 4 dosing pumps Kamoer KXF, a nodemcu module to manage the system, 4 small tubes of different colors and a handful of screws. You can see every piece here below (except for the screws).
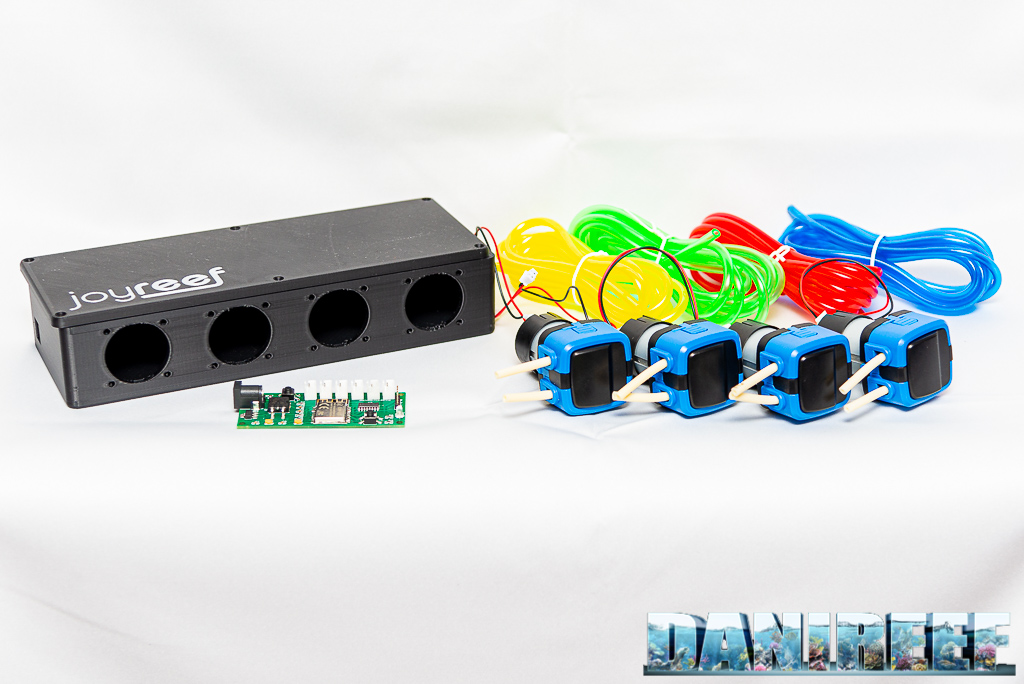
For the assembling is enough to insert the nodemcu and fasting it with the screws. Inside the nodemcu has been loaded the management system through cloud that allows the set of the dosing pumps. It’s ready to work as soon as you insert the dosing pumps in their dedicated slots. Continuing with the assembling, you remove the blue part of the heads, insert the pumps in the slots, then fasten with the screws, then insert again the blue piece. Then you close the box and connect the supply. It’s all here. You don’t believe me? Watch the video where I do the passages.
The presentation video and the assembling of the dosing pumps Joyreef with Kamoer KXF heads
The video is in italian, but you can turn the subs on. As you can see, the assembling is extremely easy!
Joyreef’s story
The project of dosign pumps is born from the will of build a system for the aquarium. Then the project has been shared with everyone. At first there was the software free to download with the list of the elements to purchase and the instructions to build them youself. But then, mostly because of all the requests, Joyreef opened the vat and began to send the kits, with different numbers of heads and with different costs and quality. Now, for example, you can also order modules with 3 heads.
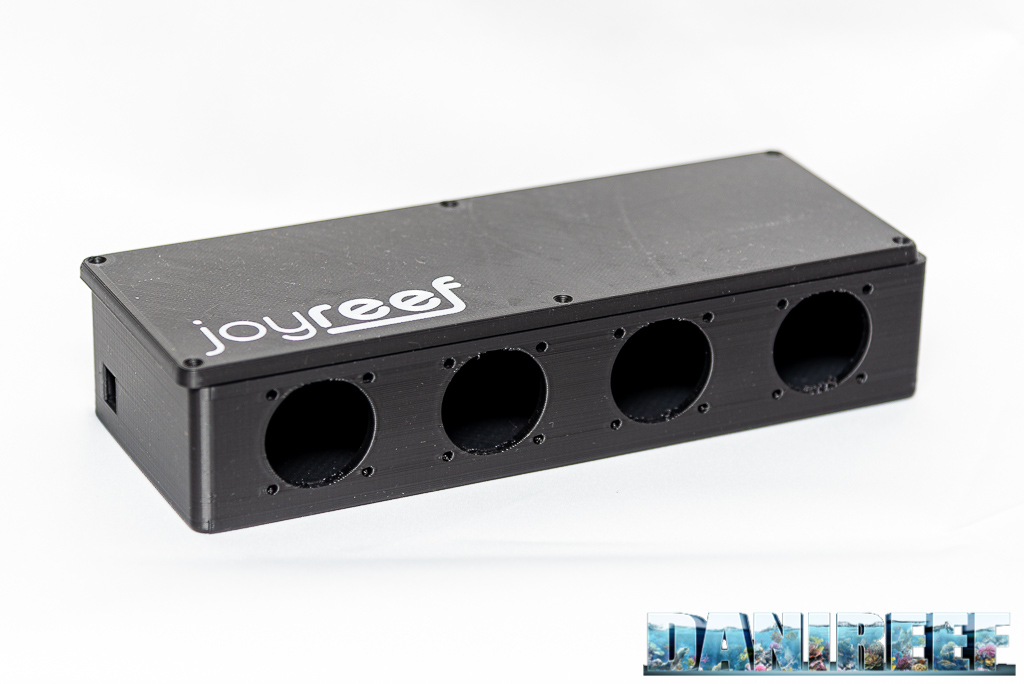
The box is printed with a 3D printer, and the result is very good. Just be careful not to fasten the screws too much because the material is a bit soft.
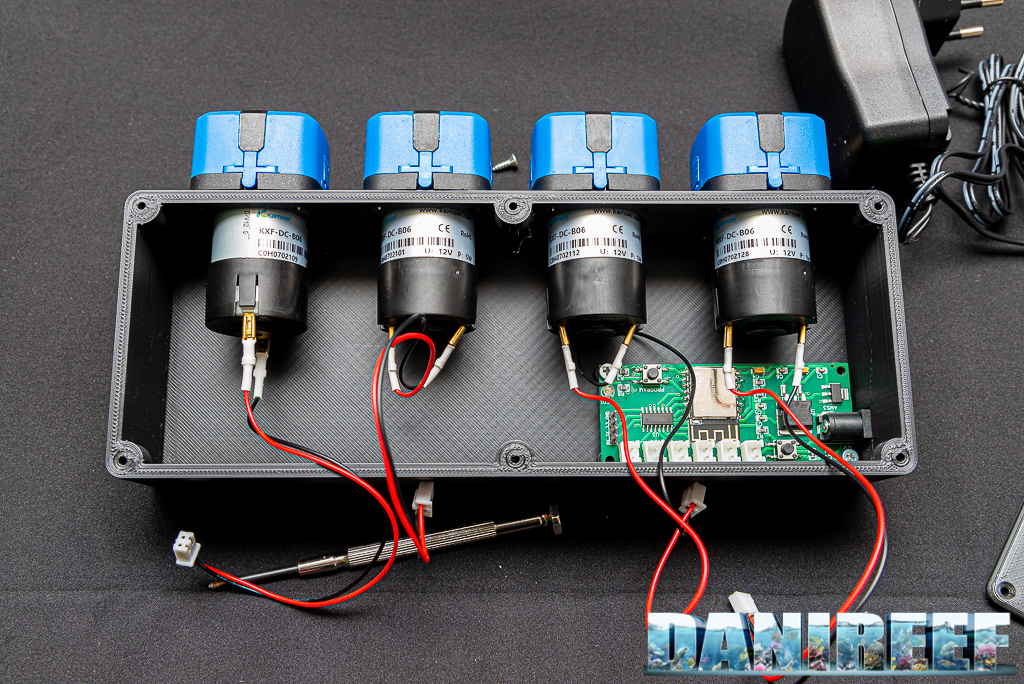
Here above there’s the inside and the small Philips scredriver (not included) that I used to fasten the screws. As you can see it’s all very intuitive.
Remember to insert the connectors in the slot closest to the supply because the system will start ordering the pumps from the first slot on the right (if the box is oriented like in the picture).
How to use them?
The best explanation of how to make the first connection and how to configurate and use the pumps is showed in the video. So, in case you need an extended explanation I suggest you to watch the video starting from the minute 9:08.
Logically speaking, the first thing to do, if you don’t have already done it, is to go on Joyreef‘s website and create you user’s profile. Then you can connect to the wifi network called Joyreef created by the device. Then you are immediately redirected to the page for the configuration of the device that requires to select your home network and insert the password, your user name and password for the access to Joyreef‘s site. At this point the system will reset and you’ll be redirected to your home network, but the device we’ll be now part of it.
At this point you can connect to the cloud on Joyreef’s website at this link iot.joy-reef.com and you’ll be able to set up and test your pump. Very easy. And if, by any chance, you do something wrong, on the nodemcu there’s the reset button that brings you back to the start, so don’t worry.
The bonus of the alarm if there’s a power outage
But there’s more, because the nodemcu also has a module that alerts you via email if there’s a power outage. In that case, you only have to clik on the checkbox in the settings of the website and the system will be immediately active again. You can make this system by yourself with 10 euro only, as you can read in this article: The module that alerts of the blackout in aquarium at 9,49 euro, but with the dosing pumps Joyreef you find already qualified and for free.
Conclusions
The dosing pumps are always more important in the aquaristics since when the Balling method is used, and the 4 dosing pumps Joyreef at 150 euro only are a real bargain. If you want better pumps there’s the kit with the Kamoer KFS pumps at 200 euro, or there are kits with 3 heads. In short, you can create the kit that suits you more, with a relative low cost and a tested system that work really well. Plus there’s the bonus of the alarm if there’s a power outage. What else do you need?

The only problem, if we want to call it so, is that if you want the system to work at its best you need a wifi network. Otherwise you can set the pumps only when you keep the hotspot active on your phone. And you’ll have to do without the alarm system. If this isn’t a problem for you then the Joyreef could be the right pumps for you.
References
- Joyreef‘s official site with updates and general infos: Aquarium Blog
- Joyreef‘s official shop: shop
- Website for the configuration of the pumps: iot.joy-reef.com


