


After the presentation of the complete line a few weeks ago and after the detailed review about Calcium test we made few weeks ago, now we want to show you our review about the combined test Magnesium, Carbonates and Borates (qui l’articolo in italiano).
ReefStatus Magnesium Carbonate Borate Seachem
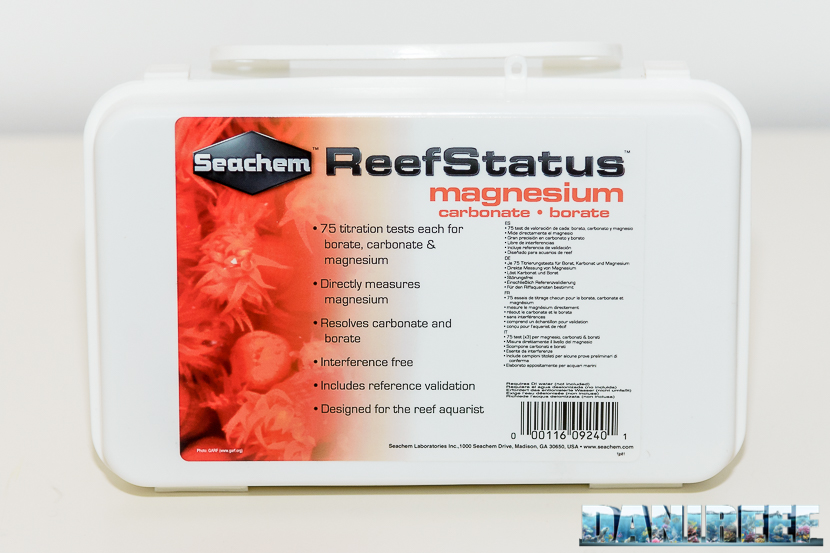
As you can see from the picture the test consists of a plastic container of fine workmanship of big size which contains much material, as we see from the photos below. For the magnesium measurement we have two bottles called “Magnesium 1 e 2“, a vial called Magnesium Titrant, a certified solution of calcium and magnesium, some pipes, containers and fiber wads. For carbonates and borates measurement we have four bottles called Borate Alkalinity Precipitant, Borate Alkalinity Indicator, Total Alkalinity Indicator, Alkalinity Titrant, some containers and a syringe as well. As you can see then the test seems to be packed with the best intentions, even given the cost not just popular of 65,00 euro.
Besides all this there is a certified solution of calcium and magnesium, which has 512 ppm fo calcium and 1338 ppm of magnesium. We don’t need calcium, in this case, but probably in this way Seachem could prepare a single solution to be included with the two ReefStatus tests, even if the ReefStatus Calcium values were different we believe that they haven’t been decided before.
This solution can be used to be sure if the test is aligned before beginning the dosage. It can give us as well an idea if we are doing the test properly and finally understand, even after a few months, if the test is still good and reliable.
The test’s resolution is very high and equal to 12,5 ppm, compared with the tests we have tried in the past, Elos has a resolution of 50 ppm, instead Oceanlife of 6,67 ppm.
Inside the container there is a sponge that allows to hold on all components without the problem that they can roam and banging. We do not know if this is an added value for the test, but surely it is very practical and nice to look at, even if the content is a lot and it can result rather confusing.

Magnesium test
The magnesium test is very laborious and requires more minutes than as usual, unfortunately this is an issue, but it is possible solve it easily if the measured value is accurate.
A wad of fiber have to be inserted in the funnel filtration and pushes up the bottom thanks to a small stick included in the package, at this point the neck of the funnel has to be inserted into the container called collection vial. Fills the test jar to the brim with the water to analyze, and pour the content in the precipitation vial. Add 2 drops of “Magnesium 1“. Close the container, turns upside down and shake gently to properly mix the contents. Then steps it aside and wait for a minute.
Pour the created content into the precipitation funnel, we mean the one with the fiber. Wait until the content will leach up to the indicated mark, taking care that the central part of the content is flush and not at the sides, being concave they will be higher. It generally takes 2-3 minutes and the solute should be clear.
Add 2 drops of the reagent “Magnesium 2” inside the containers. Shake gently to mix again the content.

Fill the syringe up to the value of 1 ml, with the solution called “calcium titrant”, then start to dose drop by drop (titration), until the solution will pass from pink color (given by the previous reagents) to blue. It is suggested to shake after every drop to allow the melt solution. When you get to the blue-purple color you will need to add only a further drop.
Now every tenth of a milliliter corresponds to 125 mg/l. Every hundredth of a milliliter, or each notch, would correspond to about 12,5 ml, with the possibility of estimating by eye even lower values.
If the value of magnesium is greater than 1250 mg/l, or when you are going to use all the liquid in the syringe, you will have to refill the syringe and then add up the values provided.
As example, as far as it normally affects to us:
- Putting 0,70 ml we will have a magnesium value of 875 mg/l, and on the syringe being upside down will read .3;
- Putting 0,80 ml we will have a magnesium value of 1000 mg/l, and on the syringe being upside down will read .2;
- Putting 0,90 ml we will have a magnesium value of 1125 mg/l,and on the syringe being upside down will read .10;
- Putting 1,00 ml we will have a magnesium value of a 1250 mg/l;
- Putting 1,10 ml we will have a magnesium value of 1375 mg/l, and on second syringe being upside down will read.90.
Plus of course all the intermediate scales.

For the Magnesium test, the reference card does not show a color scale, since you’re talking about a tritrimetric test and there are no predetermined values but only an indication of how to perform the test correctly.
Scopri di più da DaniReef - Portale dedicato a Acquario Marino e Dolce
Abbonati per ricevere gli ultimi articoli inviati alla tua e-mail.


")


