


The procedure
Once opened the package you’ll find the plastic egg. Lift it, and reach the AAA bactery of 1,5V. In order to insert the battery in the compartment you have to unscrew the screw that keeps it close. Once inserted the battery close again the lid and be careful to insert correctly the small connector. Now the Checker is ready to be used.

Phase 1: Calibration
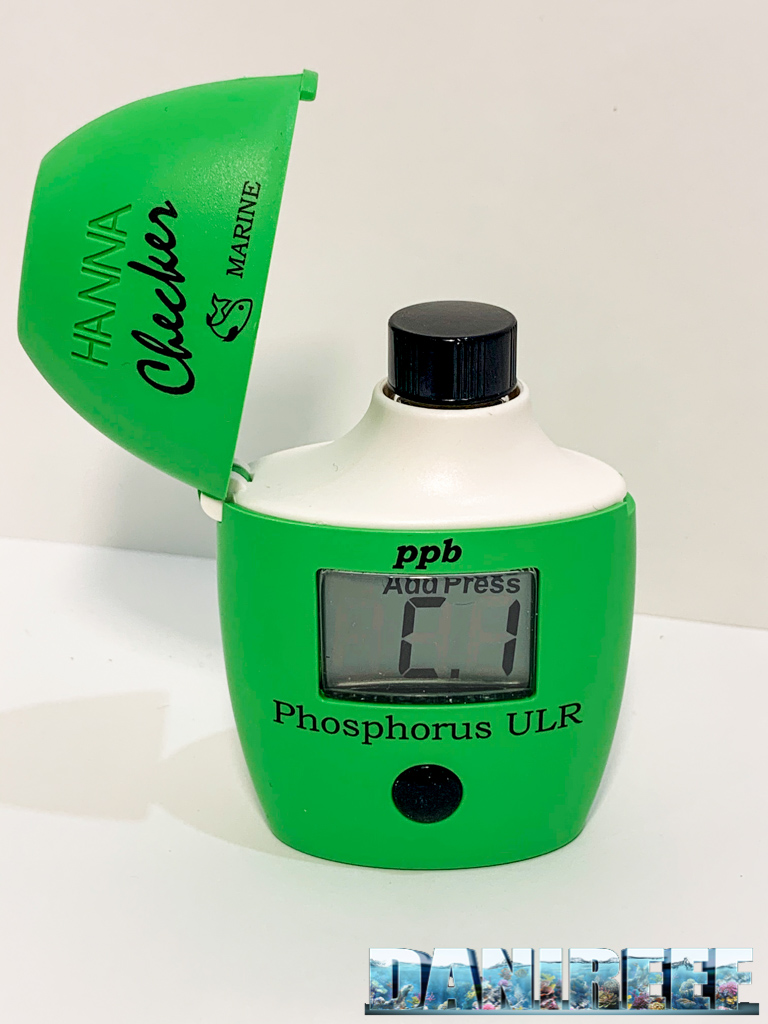
- First thing, you have to turn on the instrument by pressing the black button. After a few seconds will appear “ADD C1” on the display with the flashing instruction “Press“.
2. Fill one of the cuvettes with 10ml of the water you have to analyze and tighten the cap.
3. Clean thoroughly the glass with microfibre cloth so that to eliminate every residual dirt that could distort the result.
4. Insert the cuvettes in their compartment and close the lid.
5. Press the black button. After some seconds on the display will appear “ADD C2“, with the instruction “Press” flashing. This means that the Checker has completed the reset and is ready to do the real measurement.
Phase 2: Measurement
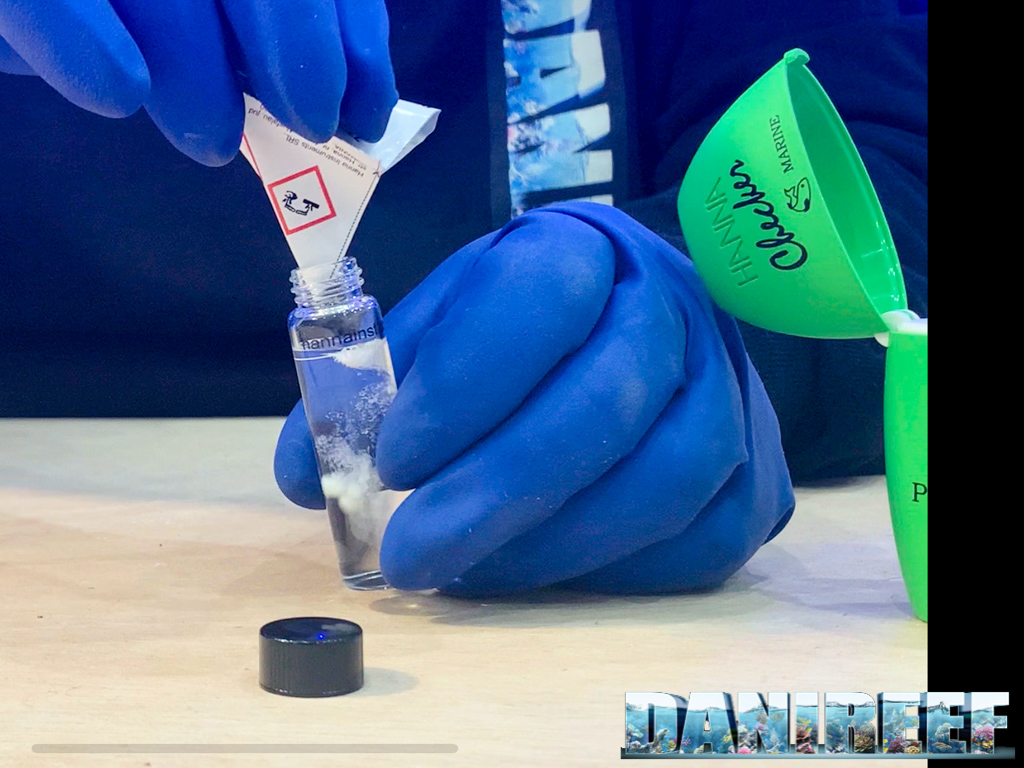
6. Cut with the scissors the two sides of the bag of the reagent and pour the content in the cuvette (that you have to take and open).
7. Tighten the black lid and shake for two minutes so that the reagent will completely dissolve in the water.
8. Wait for a couple of seconds and, if necessary, shake gently to eliminate the bubble. Clean thoroughly the glass with the cloth.
9. Place the cuvette in its compartment and keep pressed the black button until the timer doesn’t start. It’s already preset on 3 minutes.
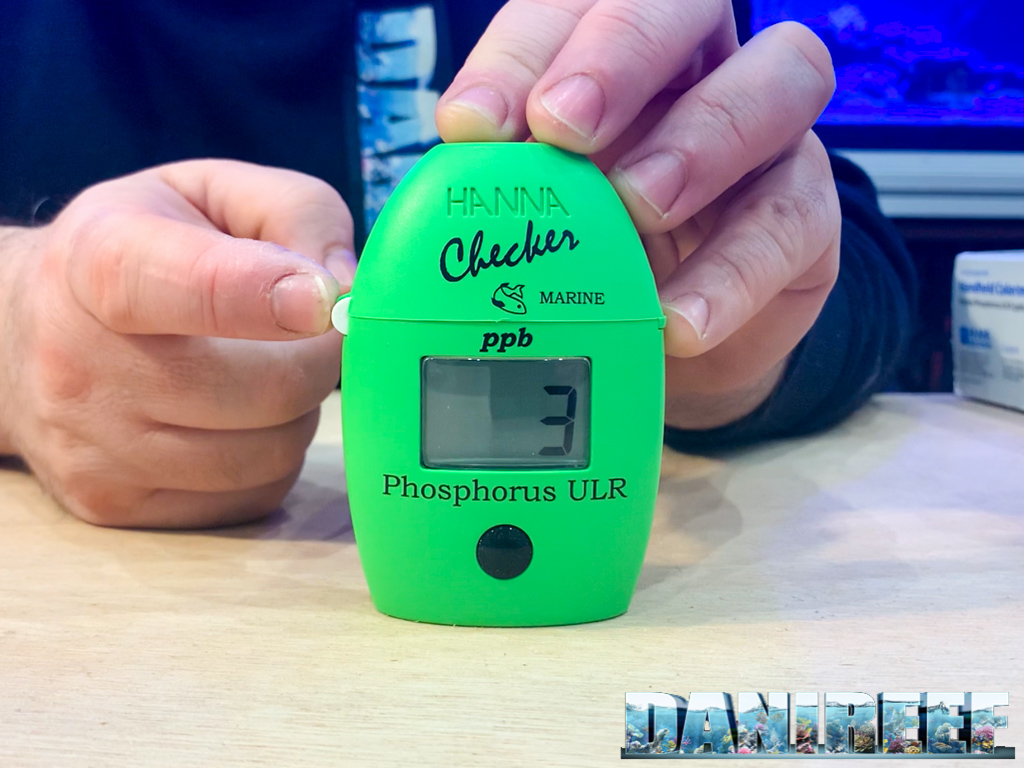
10. Wait for the end of the count and read the result on the display.
The value gives the the indication of the phosphorus expressed in ppb (parts per billion).
The conversion formula
There’s a simple conversion formula which leads to know the value of the phosphate ion starting with the value of phosphorus found.
This is the calculation:
[VALUE OF PHOSPHORUS] (in PPB) * 3,066 (fixed coefficient)
Let’s take as example the test that we just did. As we saw the lecture of our egg was 3 ppb that is 3 parts per billion.
In order to find the phosphate ion we have to take this value and multiply per the fixed coefficient of 3,066.
So we’d have:
3*3,066 = 9,198 ppb (parts per billion)
Anyway, the main part of the tests in our possess express the result in ppm (parts per million).
Well, no problem, you only have to devide the result for 1000 and you’ll have:
9,198 ppb / 1000 = 0,009198 ppm
And you got so the value that indicates how many milligrams of phosphate are in one kg of water.
Some recommendations
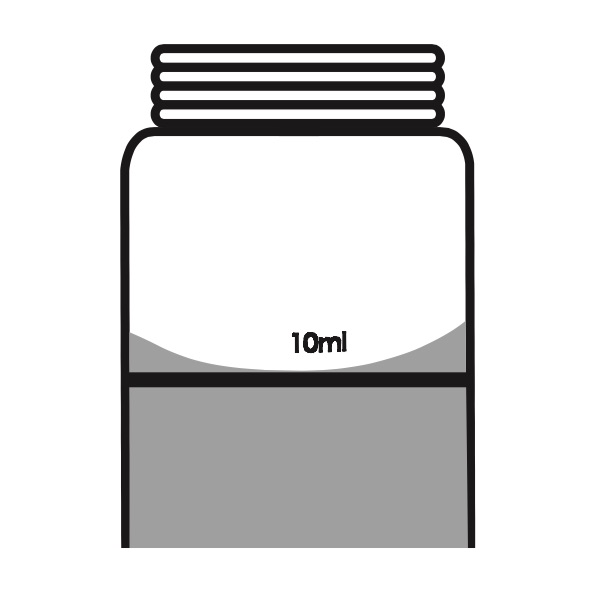
[Phase 2] – When you pick up the water for the test you have to be very careful to respect the reference line. The test is very precise and even the smallest variation in the quantity of water compared to that expected could lead to even big mistakes in the measurement.
In this phase you should keep in control the superficial tension, a physical phenomenon caused by the cohesion force of the water particles, that tends to rise the level where they touch the glass.
For a correct measurement the inferior edge of the meniscus should correspond with the superior part of the reference line. The picture here below comes from the graphic procedure and explains clearly the correct level of water to pick.
[Phase 3], [Phase 8] – Be very careful in cleaning the external glass of the cuvette. Use a clean microfiber cloth to eliminate every residual dirt or grease.
[Phase 8] – Before you insert the cuvette for the measurement make sure you eliminated every bubble formed during the shaking. Just to flip the cuvette two or three times. This is important because the optical reader is very sensitive and every external conditioning could invalidate the result.
Conclusions
So, we’ve been using Checker Hanna HI736 Phosphorus ULR for over a year, often confronting it with other tests we own to better understand its reliability. But never as in this case has been difficult for us to make comparisons. In fact, all the other tests could only come close to the incredible precision this test reaches.
The scale of measurement is really low but this device is still able to detect even the slightest phosphorus variation in the water.
Moreover, the display gives directly the result that can’t be misunderstood or influenced by external parameters. Think that with other tests the result can “change” depending on the lighting conditions or the optical sensitivity of the user that’s checking the colorimetric scale.
Someone could object that such a low scale could even be excessive for the type of measurement that we need to do.
Remember that in the series Hanna Marine Line there are at least four Checkers able to gave a reliable measurement of phosphorus and phosphates.
HI713 and HI717 are respectively for Phosporus and Phosphates, both operate on a large scale.
HI736 and HI774 instead are respectively Phosphorus and Phosphates are small scales, so they can be go more in depth in the measurement.
All things considered, at the same price you could choose another type. The choice is, as always, very personal, and it depends on our needs.
Having a device that checks measures close to zero could mislead us when there are consistent quantities of phosphorus. So I feel I should recommend the Checker Hanna HI736 Phosphorus ULR to the most expert users, who normally already have low values in their tank and they want to keep them in control.
Anyway, one thing is certain: any choice you make, you can be sure that you’ll have in your hands a very valid device, precise and reliable. Simple to use, clear in the lecture of the result and that does its job right.
PROS
![]() Easy and unequivocal read.
Easy and unequivocal read.![]() Simple and fast procedure.
Simple and fast procedure.![]() Very precise measurements, even close to zero.
Very precise measurements, even close to zero.![]() The reagents can last longer then other tests.
The reagents can last longer then other tests.
CONS
![]() Even six reagents included in the original kit.
Even six reagents included in the original kit.
HANNA CHECKER HI736 FOR PHOSPHORUS IN SALT WATER ULTRA LOW RANGE
| Construction Quality | |
| Quality | |
| Quality Price Ratio |
Scopri di più da DaniReef - Portale dedicato a Acquario Marino e Dolce
Abbonati per ricevere gli ultimi articoli inviati alla tua e-mail.


