


We tested the Chinese marine aquarium LED light A8 PRO II Blue, an not-so-hidden clone of Radion. At one third of the cost, will it deliver the same performance? Let’s find out in our review in the DaniReef LAB.

The configuration of the new A8 Pro II Blue looks visually similar to Radion. Same case, same dimensions, same number of 8 channels, but that’s where the similarities end. Different LEDs, different spectrum (at least visually), different LED lenses. The A8 is more powerful, about 33% more, so we were very curious to review it in depth in the DaniReef LAB. And, seeing it side by side with the Radion G5 Blue, who will win? Let’s analyze its features, then compare it to the Radion.
This test was made possible thanks to our friend Andres, who bought three of them to light up his reef aquarium, and we gladly tested them. For him, for us, and for you.
Technical Specifications A8 Pro II Blue
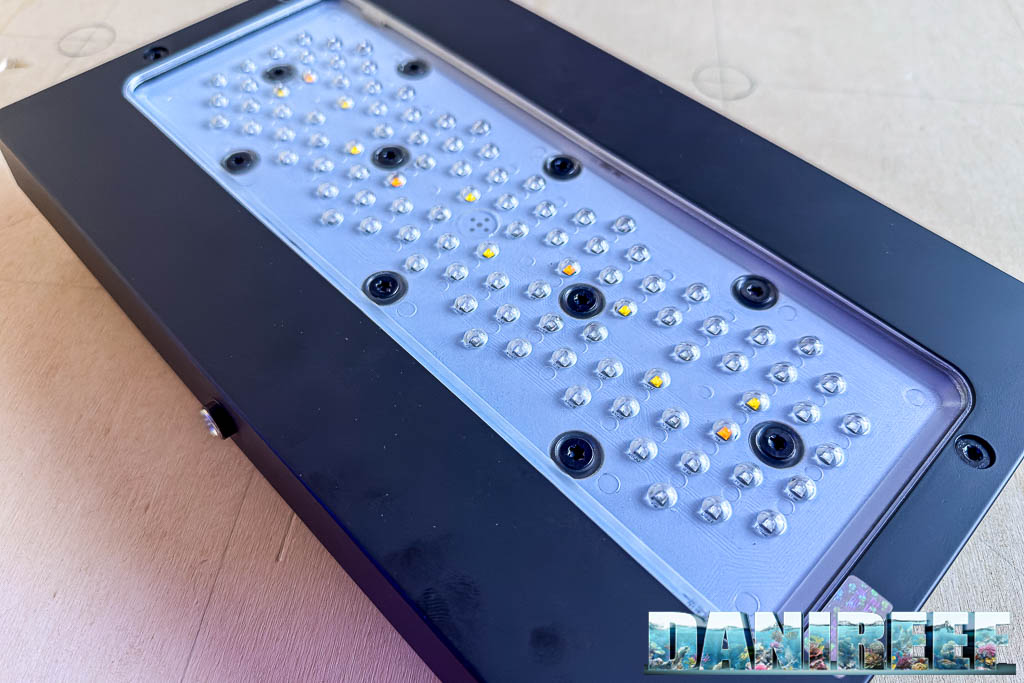
The fixture is rectangular, 4.6 cm tall, with a footprint of 36.7×20.2 cm. The LEDs of the A8 Pro II Blue, as we mentioned, are 9 different types grouped into 8 channels.
| A8 PRO II Blue | |
| Length | 30 cm |
| Width | 18 cm |
| Height | 3.5 cm |
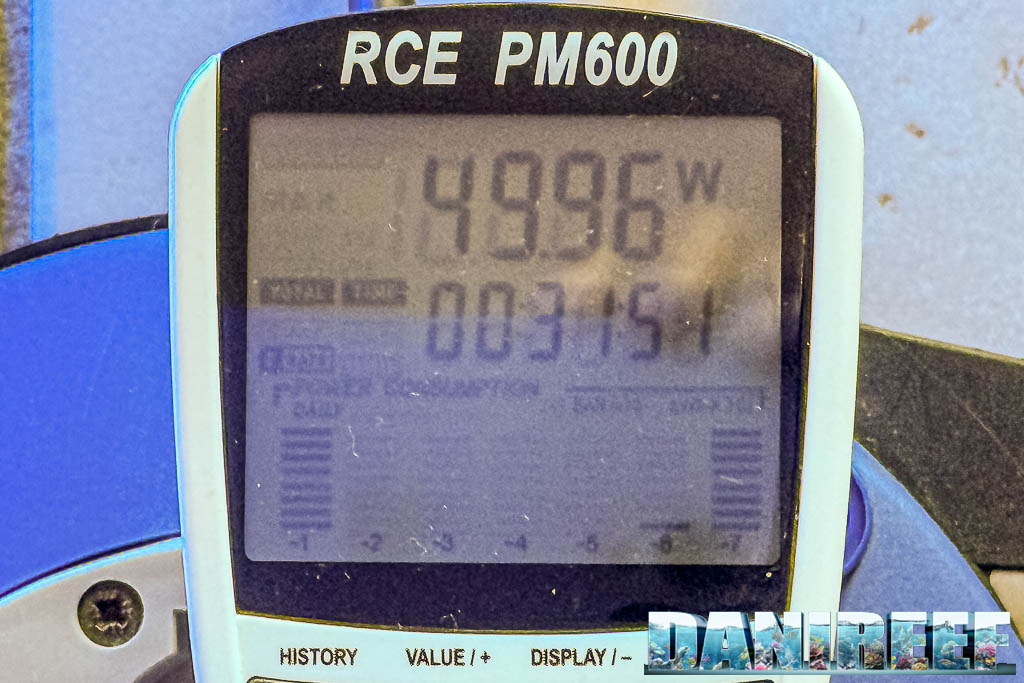
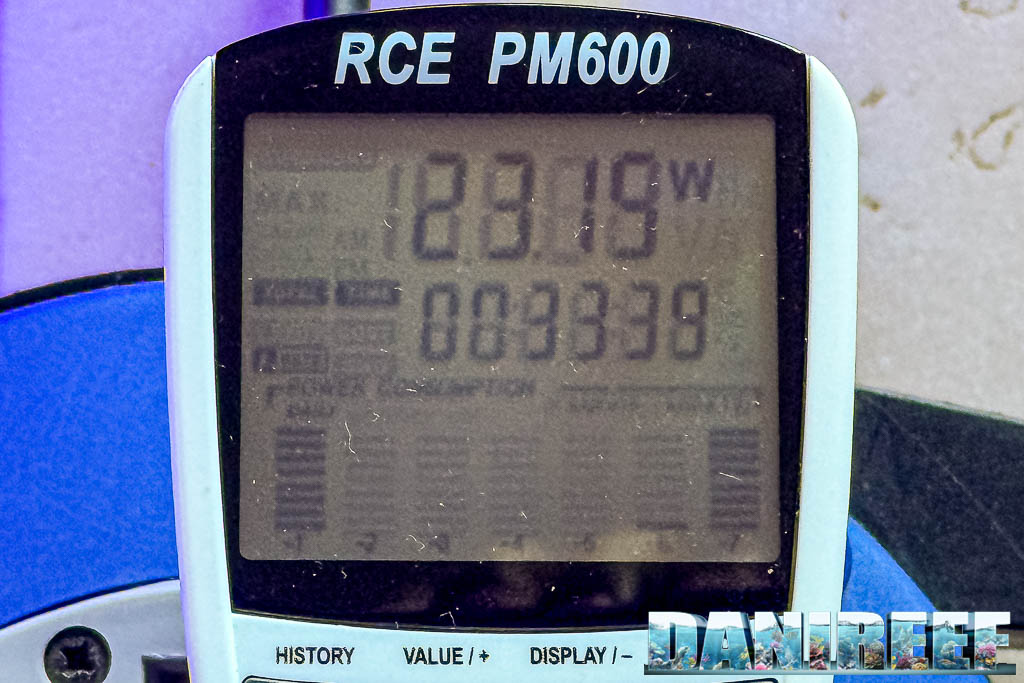
| Power Consumption | 240 watt |
| LED Configuration | |
| Cool White LEDs | 8 |
| Royal Blue LEDs | 32 |
| Blue LEDs | 32 |
| Sky Blue LEDs | 6 |
| Violet 395 nm LEDs | 4 |
| Violet 405 nm LEDs | 2 |
| Violet 415 nm LEDs | 4 |
| Violet 430 nm LEDs | 8 |
| Warm White LEDs | 4 |
| Total LEDs | 100 |
Our Video Review of the A8 Pro II Blue
The video is quite long, so sit back and get comfortable. After a quick unboxing with Andres, we discuss its power, its 4 weak points, and the comparison with the Radion G5.
Build Quality
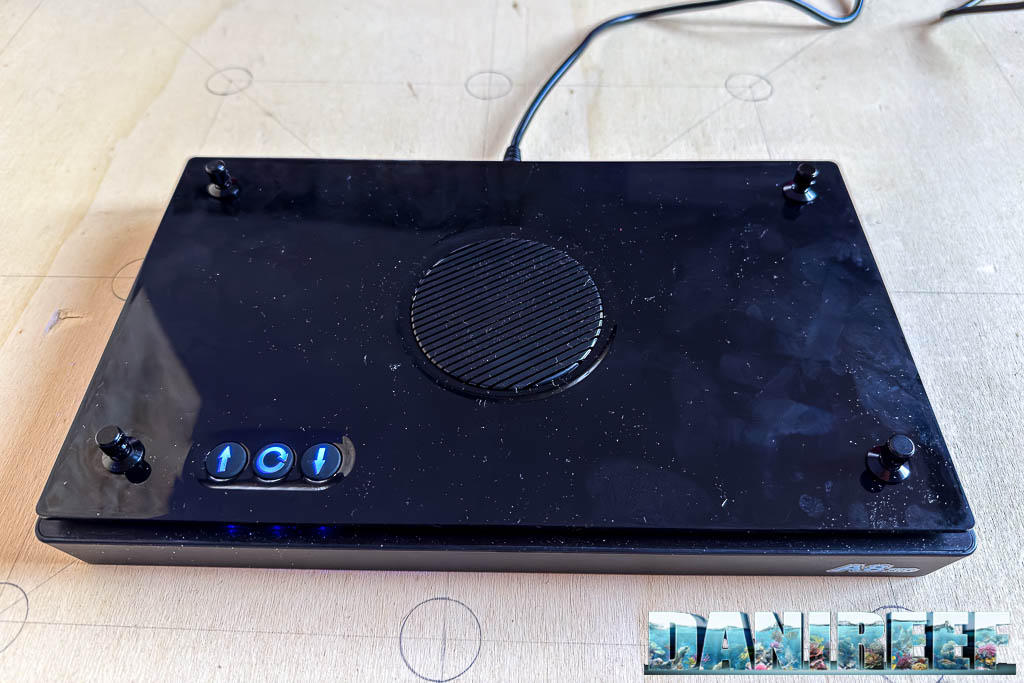
The build quality of the fixture is good; the materials feel soft to the touch, but they’re not as solid as those from more established brands. On the top there’s a grid, under which lies the fan that expels air sideways. Needless to say, the design is identical to the Radion.
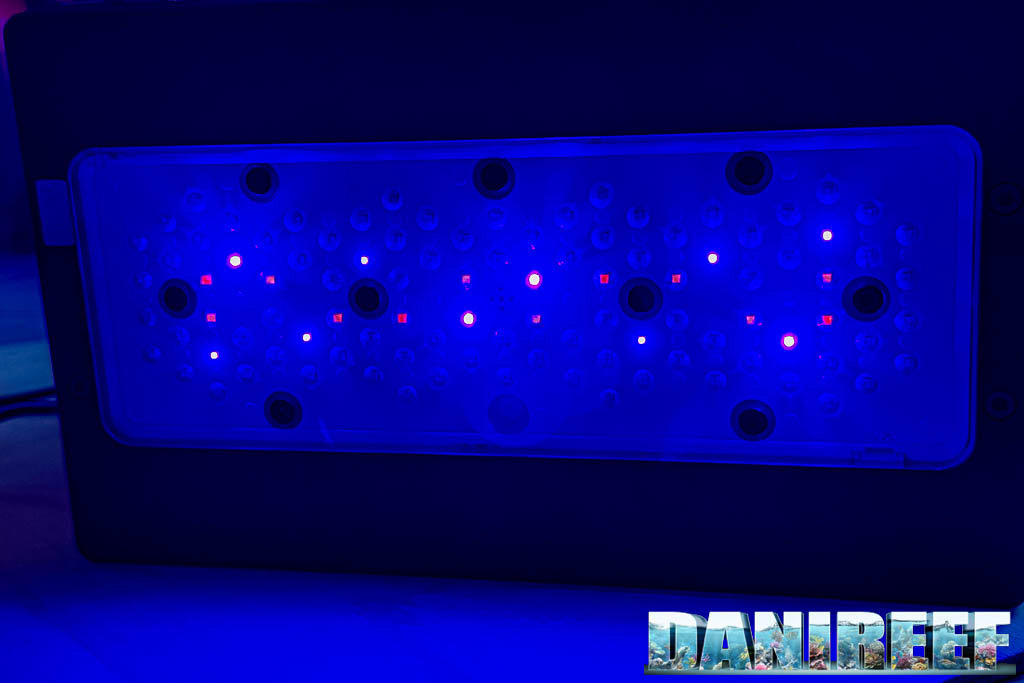
The LED Channels
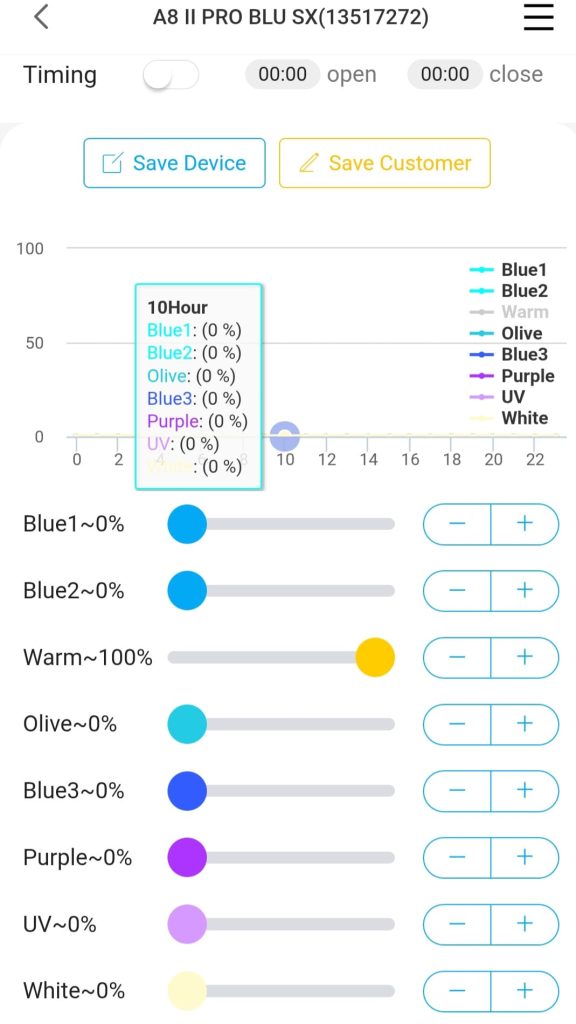
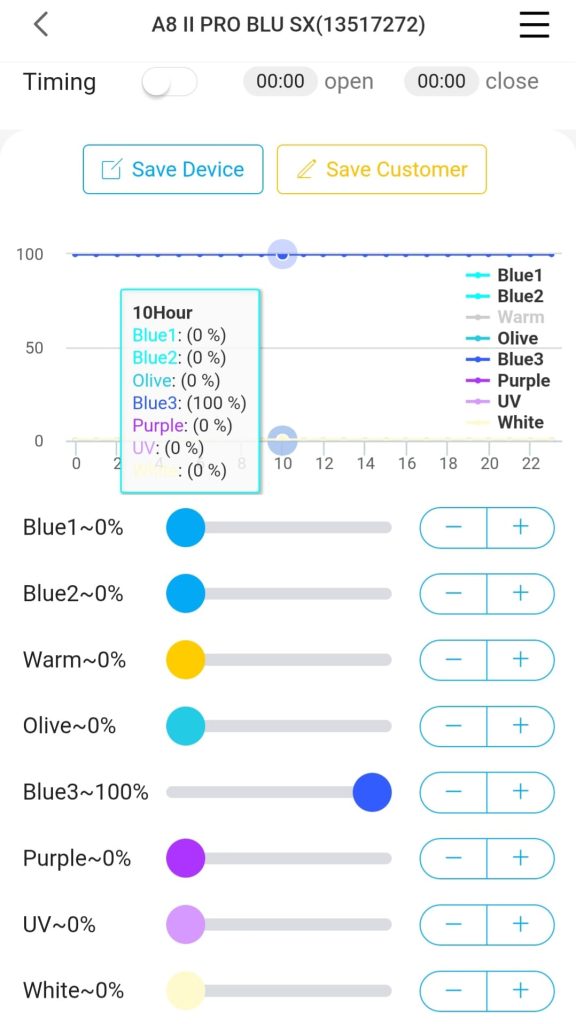
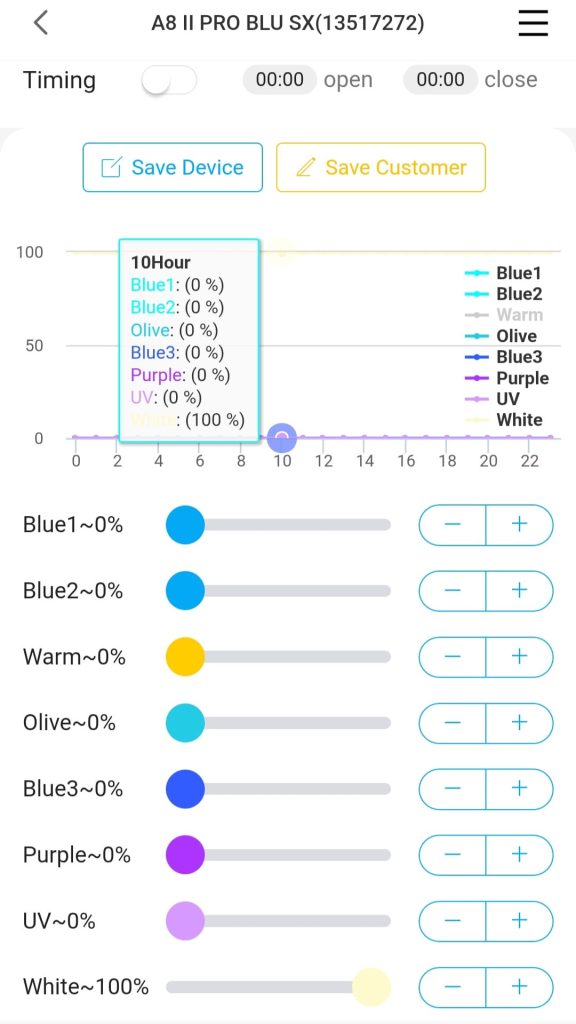
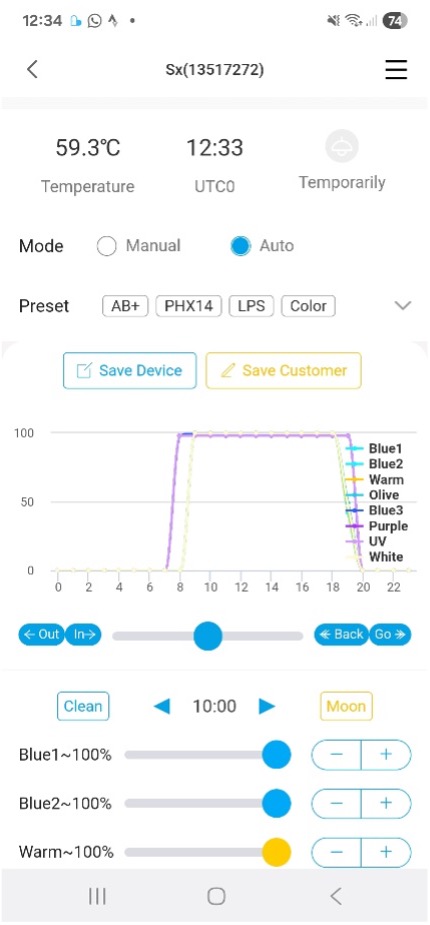
The app is perhaps one of the weakest points of the light. Unstable, complex to use, and not very user-friendly. It’s one of the compromises to accept with this lamp. Still, from the app you can control all 8 available channels.
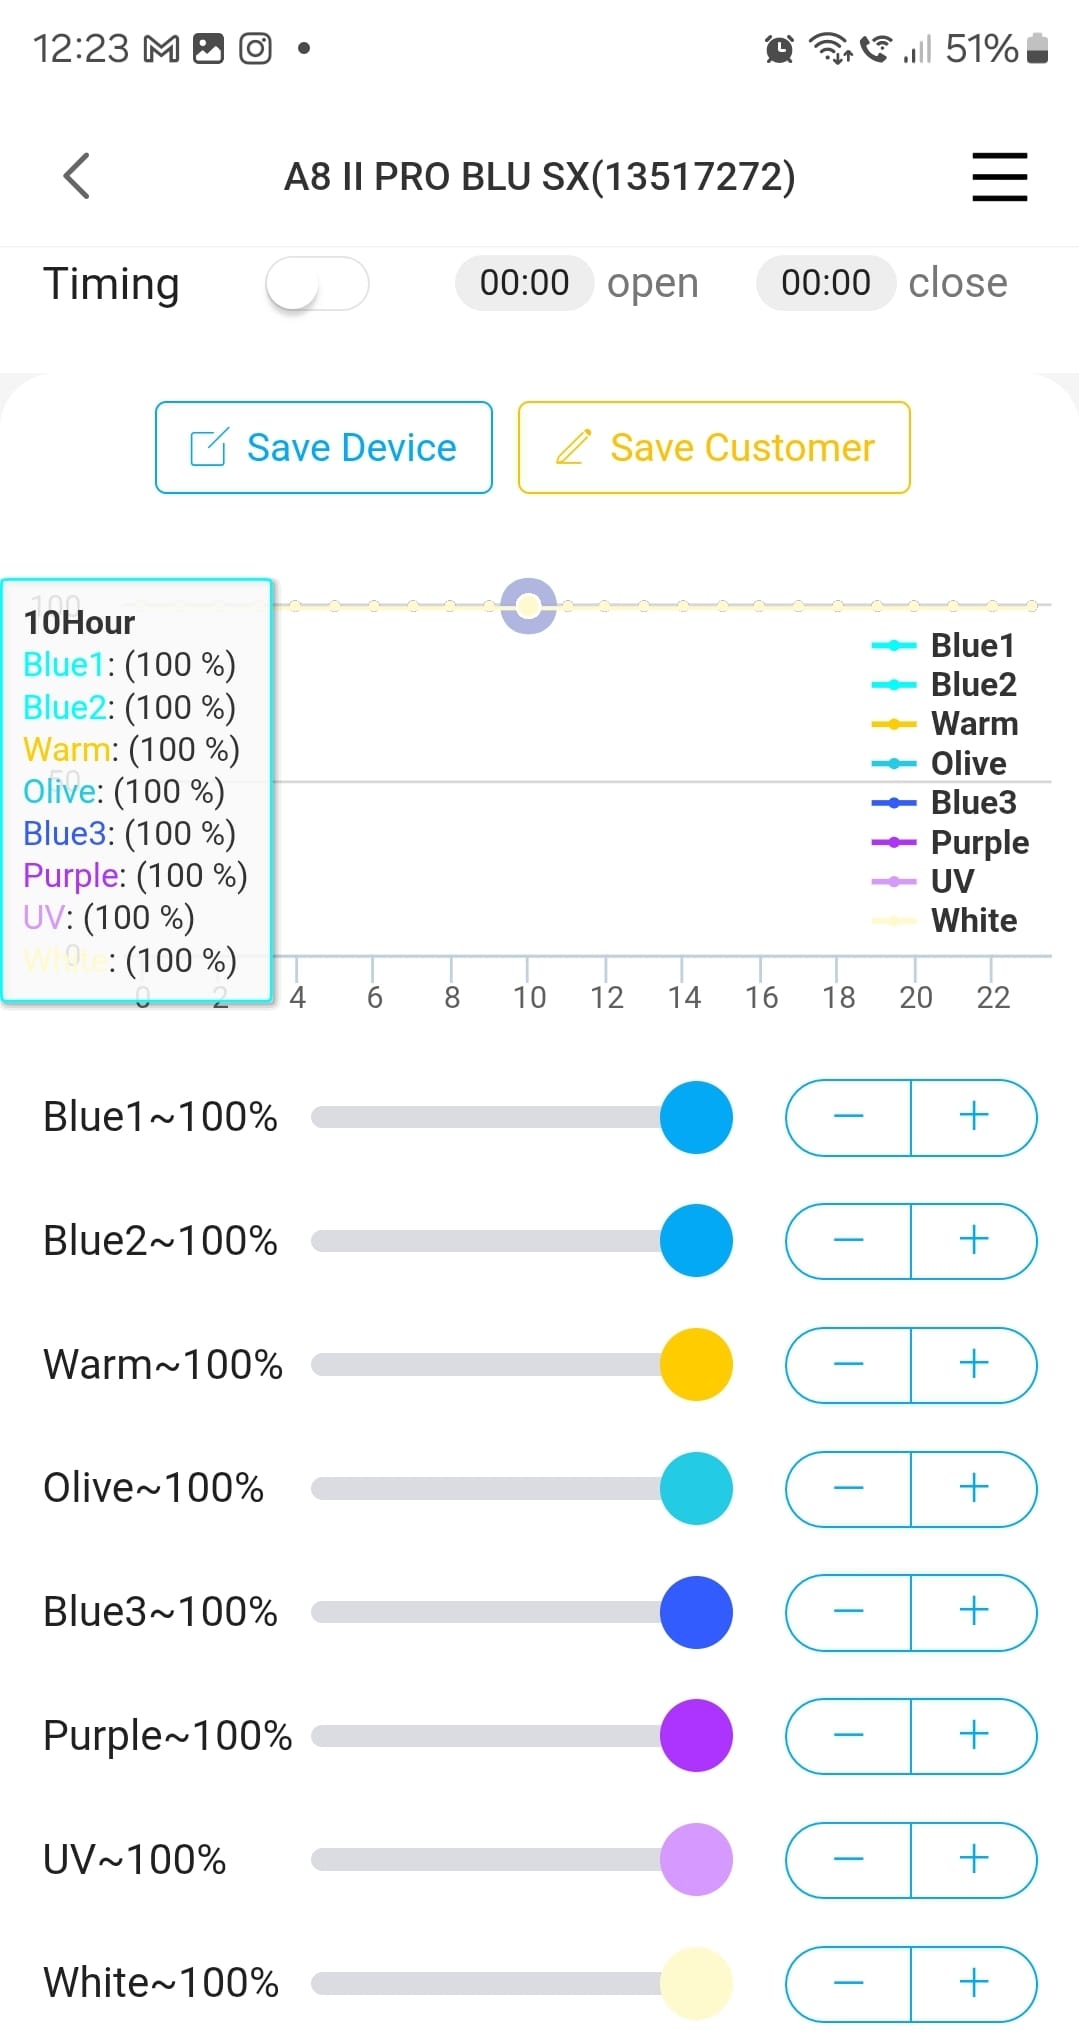
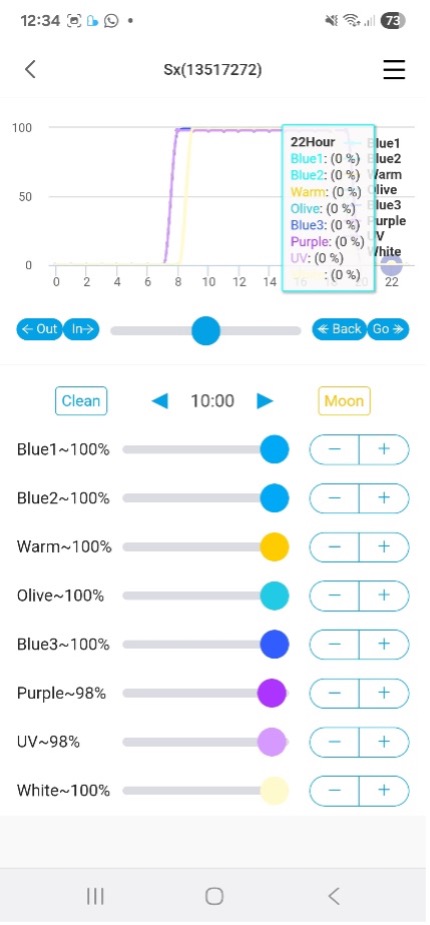
Above you can see the 8 sliders controlling the 8 channels, each represented with the dominant color of the channel. At the top, you can also see the percentage of each channel, repeated next to the channel name.
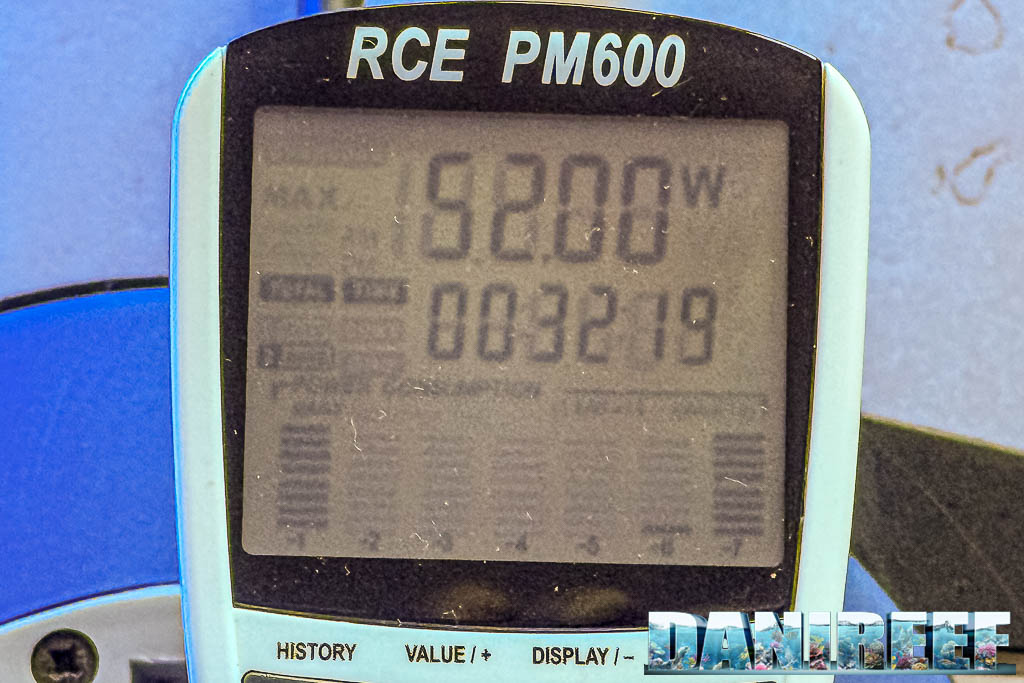
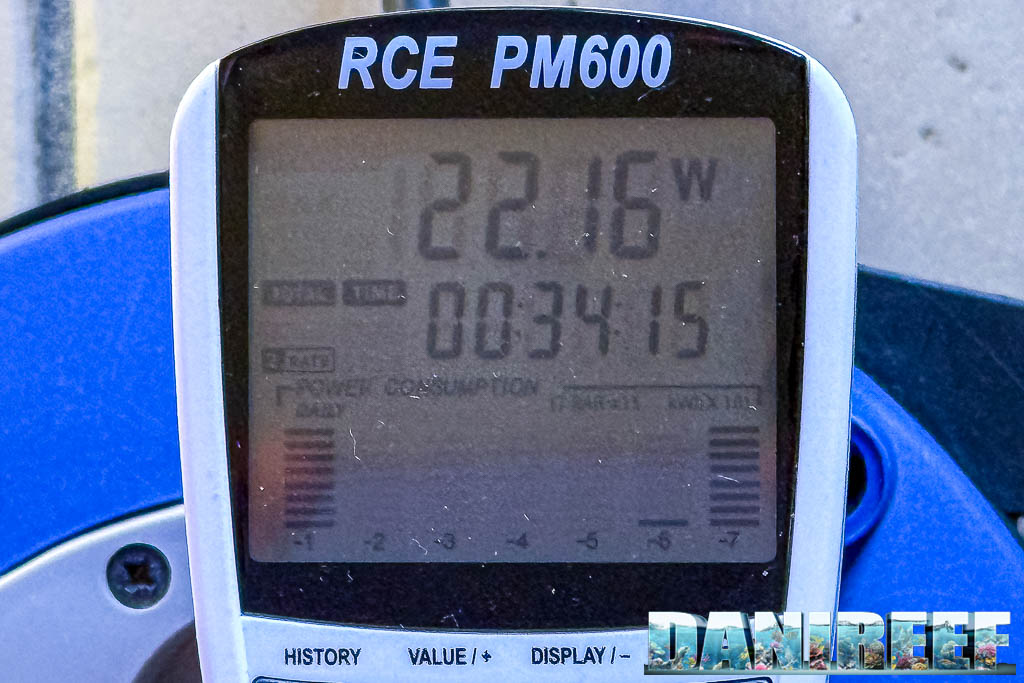
Let’s now look at each channel in detail, the LEDs that light up, and for each one we’ll show its percentage of PAR contribution and percentage of total power consumption. All data we measured directly.
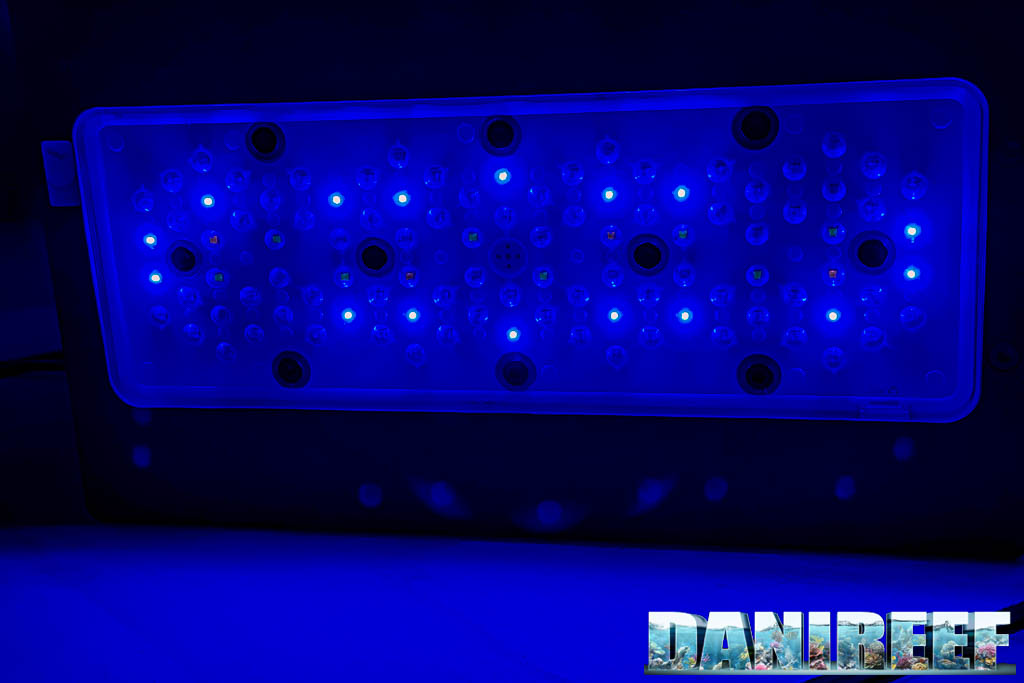
Channel 1: Blue1
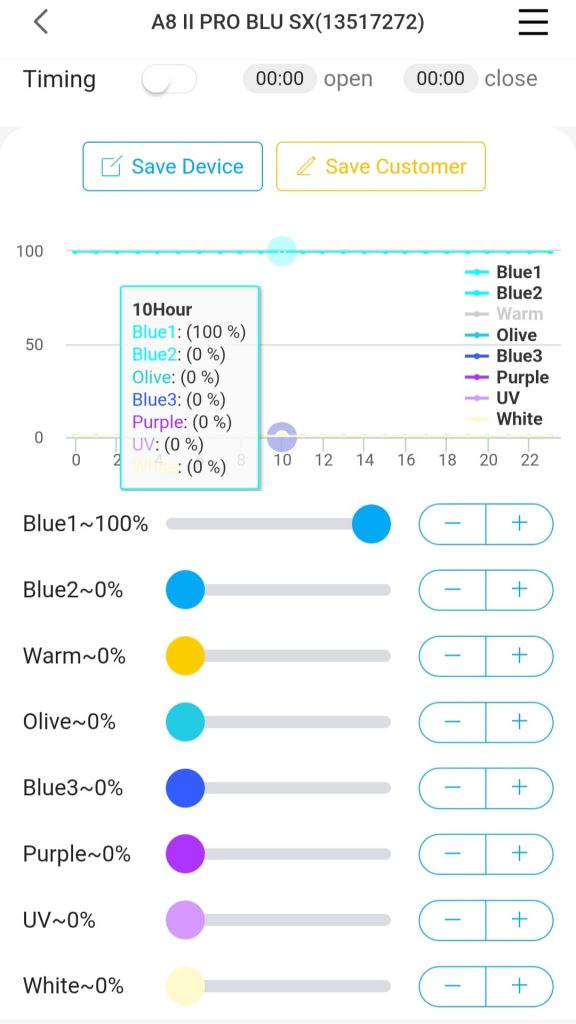
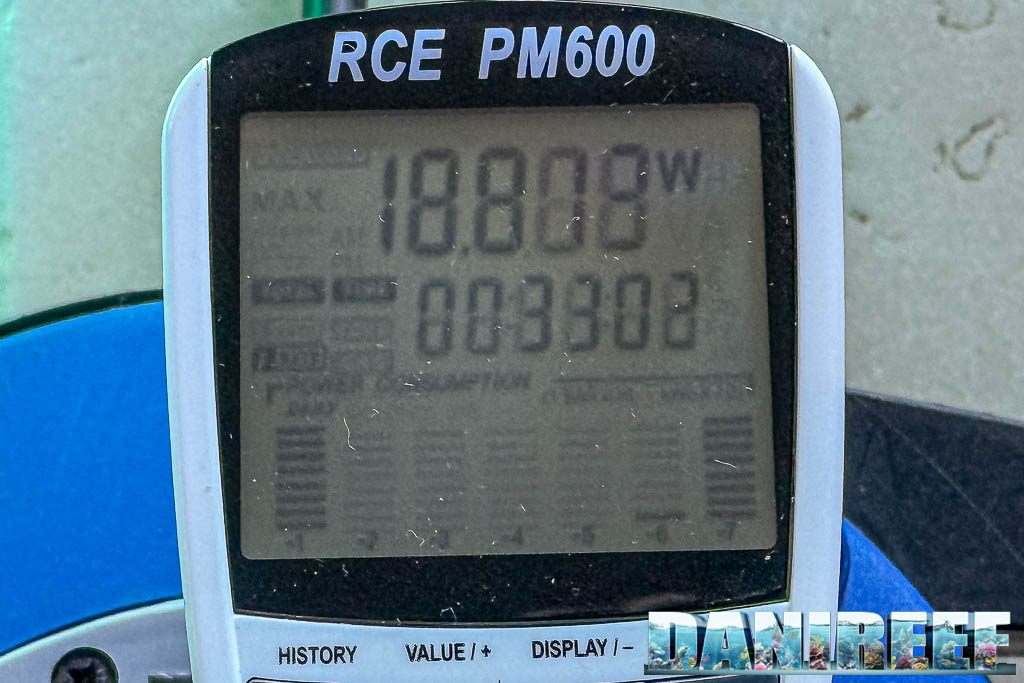
Channel 1 is responsible for 20% of the total PAR output of the fixture and 19% of its total power consumption.
Channel 2: Blue2
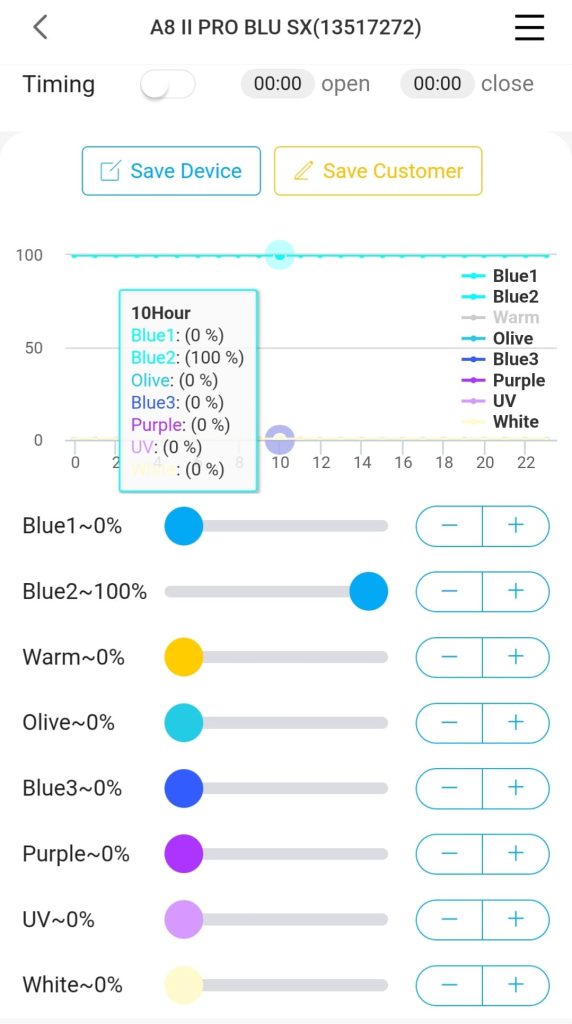
From an energy perspective, Channel 2 is identical to Channel 1: it also accounts for 20% of the total PAR output and 20% of total power consumption.
Channel 3: Warm

Channel 3 contributes 3% of the total PAR output and 4% of total power consumption.
Channel 4: Olive

Channel 4 accounts for 3% of the total PAR output and 7% of the total power consumption.
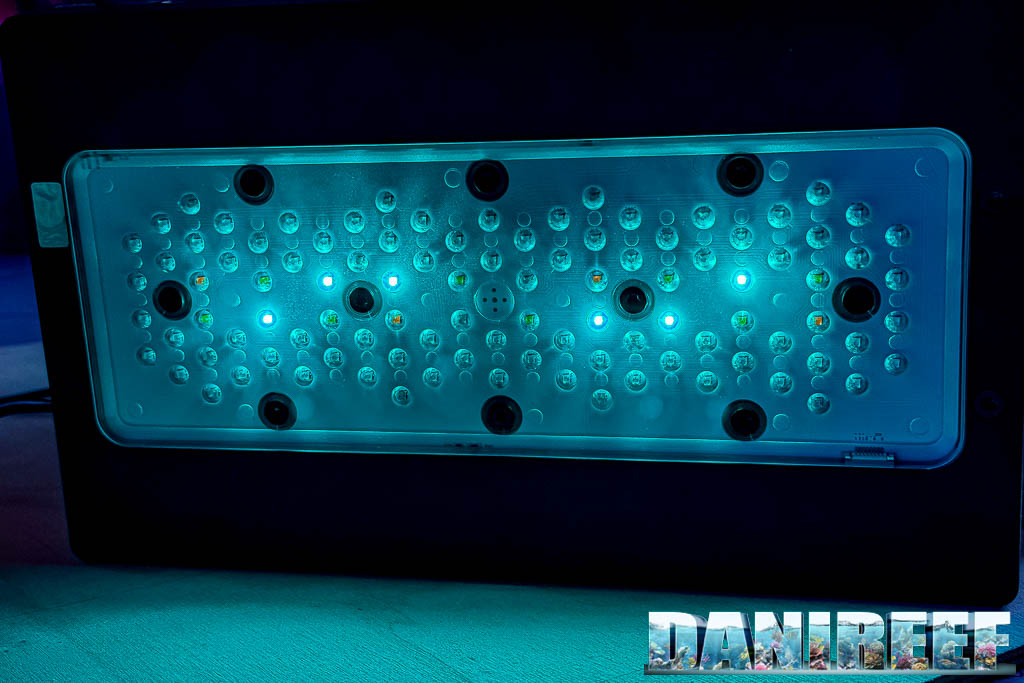
Channel 5: Blue3
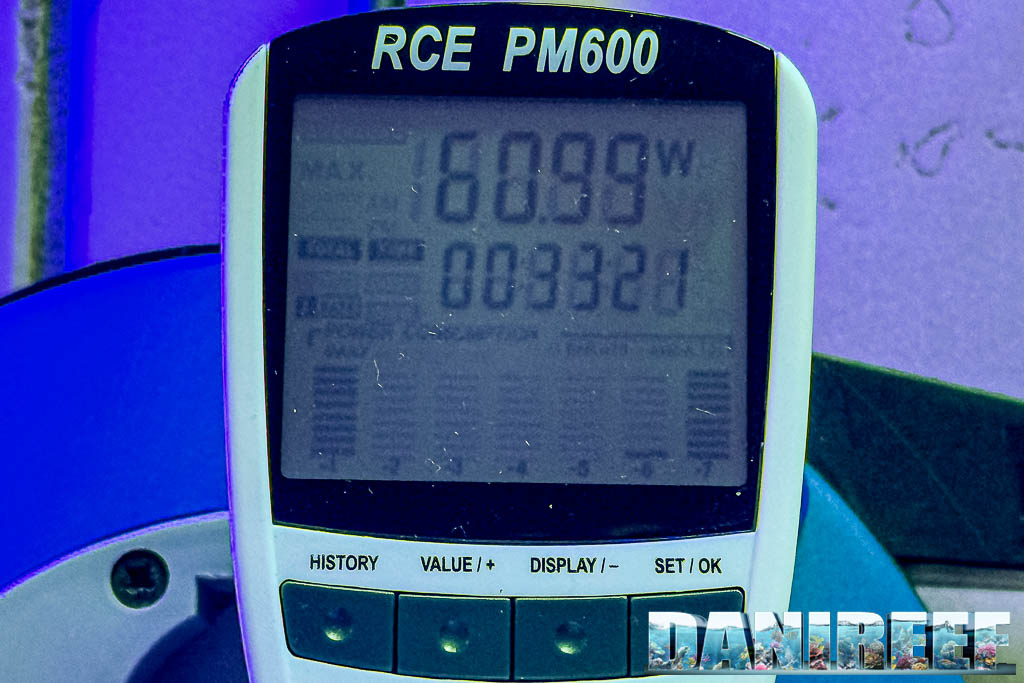

Channel 5 provides 30% of the total PAR output and 23% of the total power consumption.
Channel 6: Purple
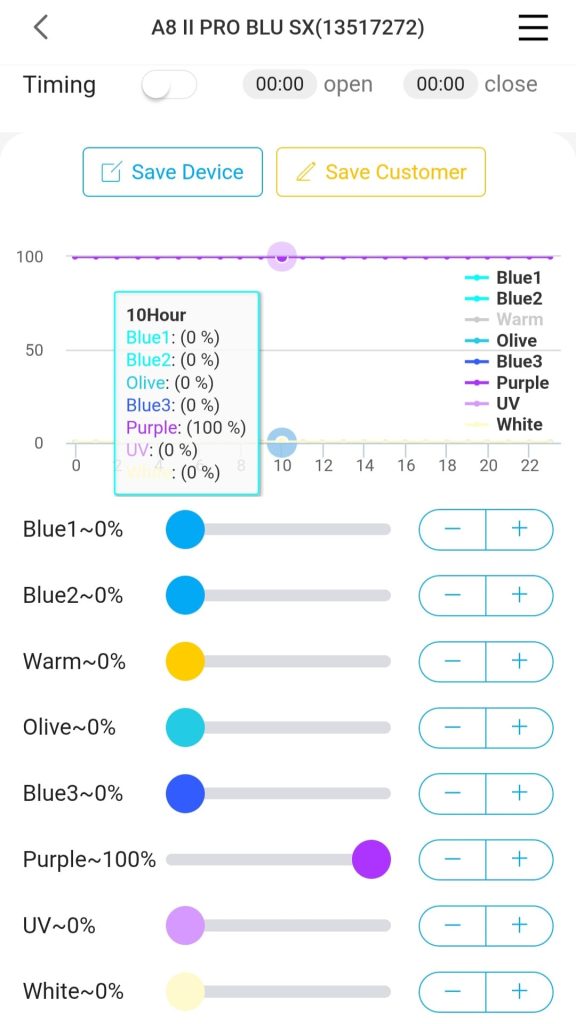
Channel 6 contributes 8% of the total PAR output and 9% of the total power consumption.
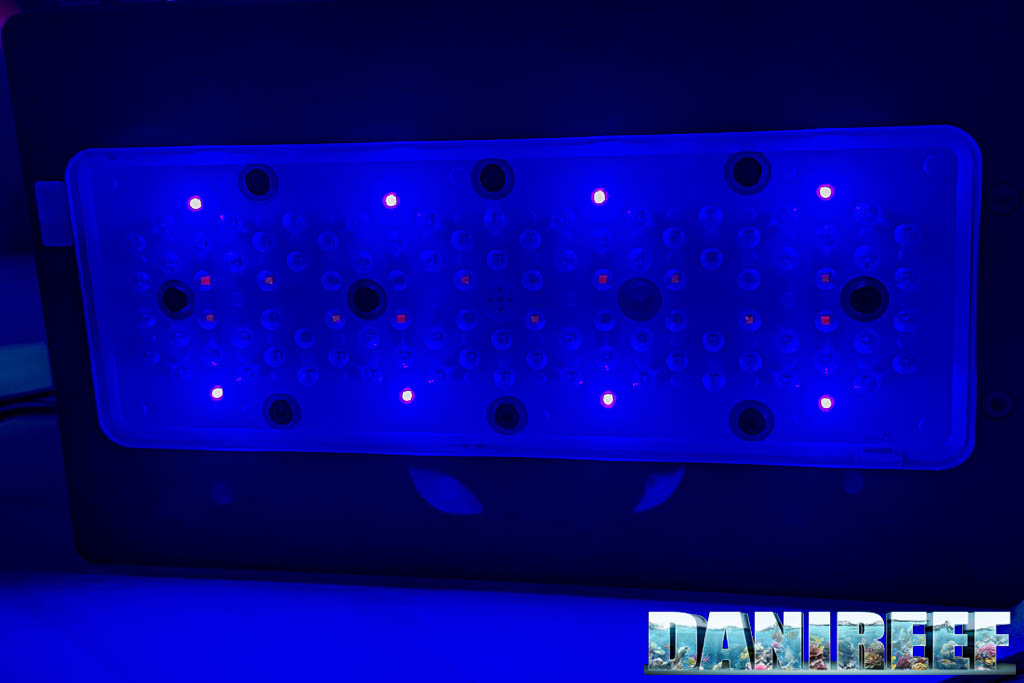
Channel 7: UV
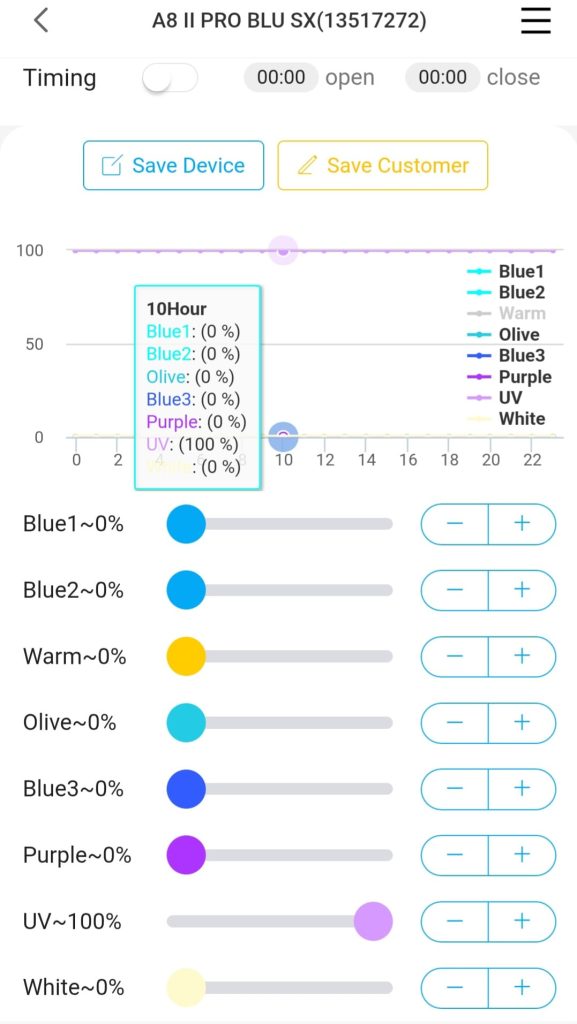

Channel 7 contributes 7% of the total PAR output and 10% of the total power consumption.
Channel 8: White
Channel 8 provides 8% of the total PAR output and 8% of the total power consumption.
Channels 1, 2, and 5 together are responsible for 70% of the total PAR output of the fixture, making the other five channels nearly irrelevant in this respect.
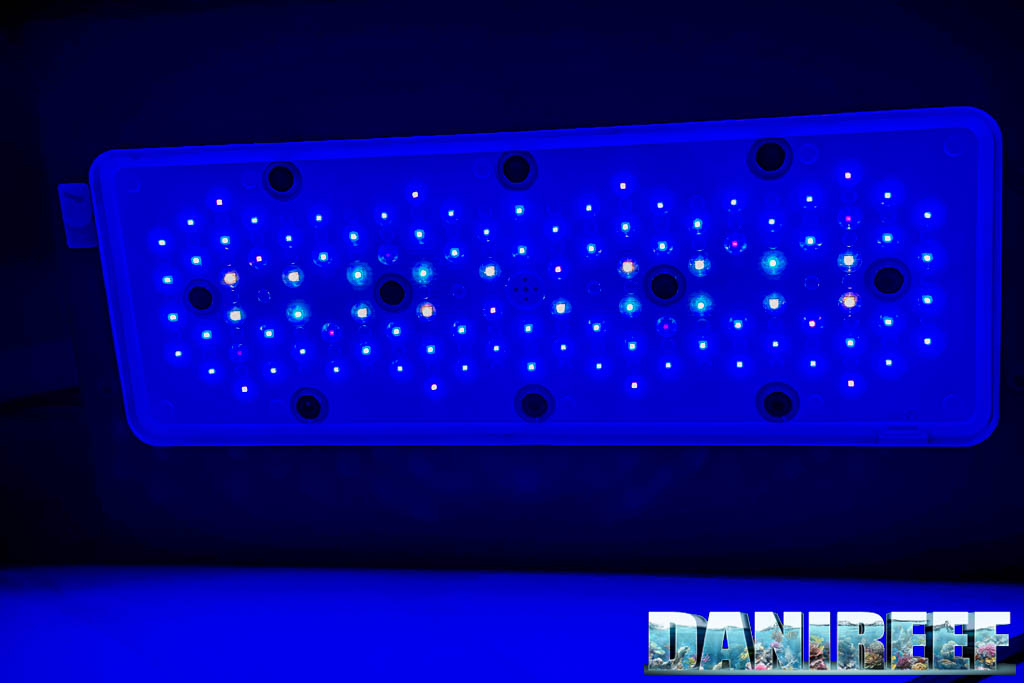
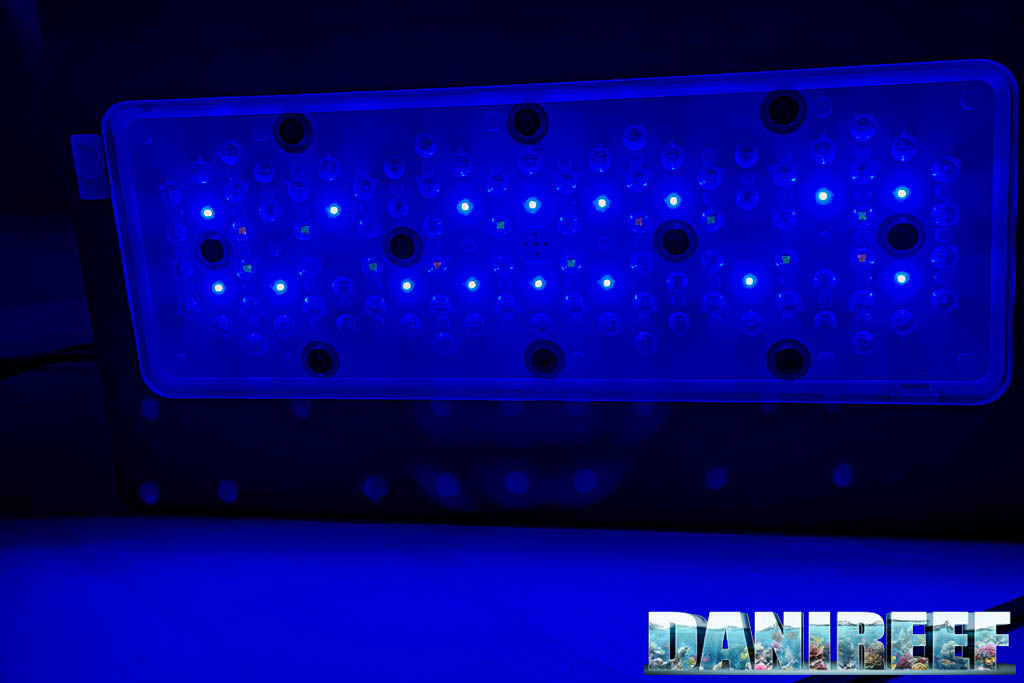
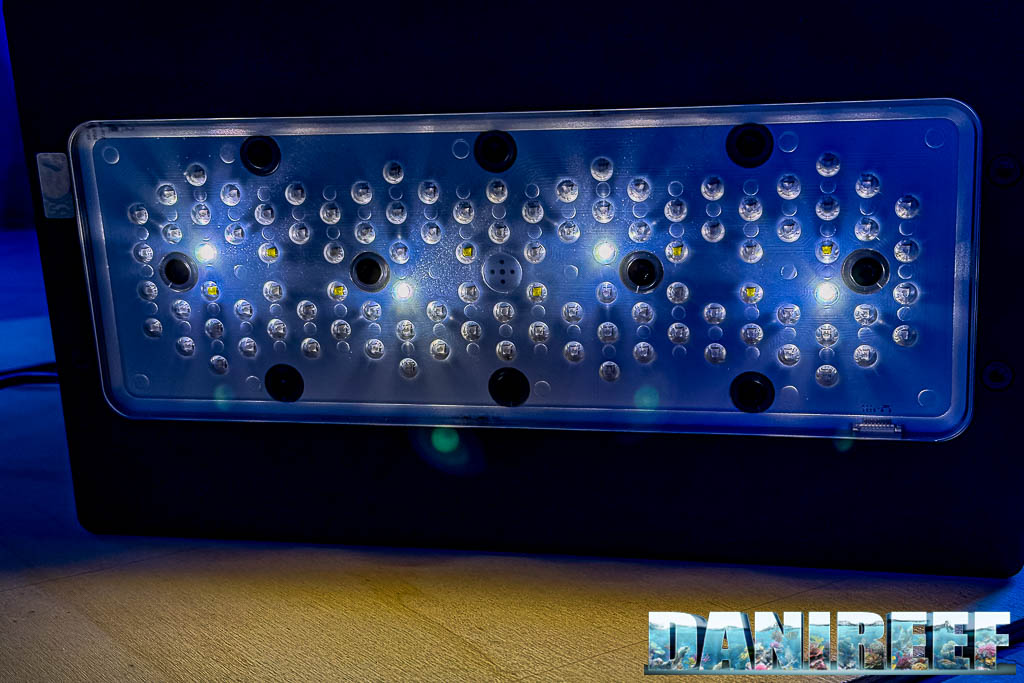
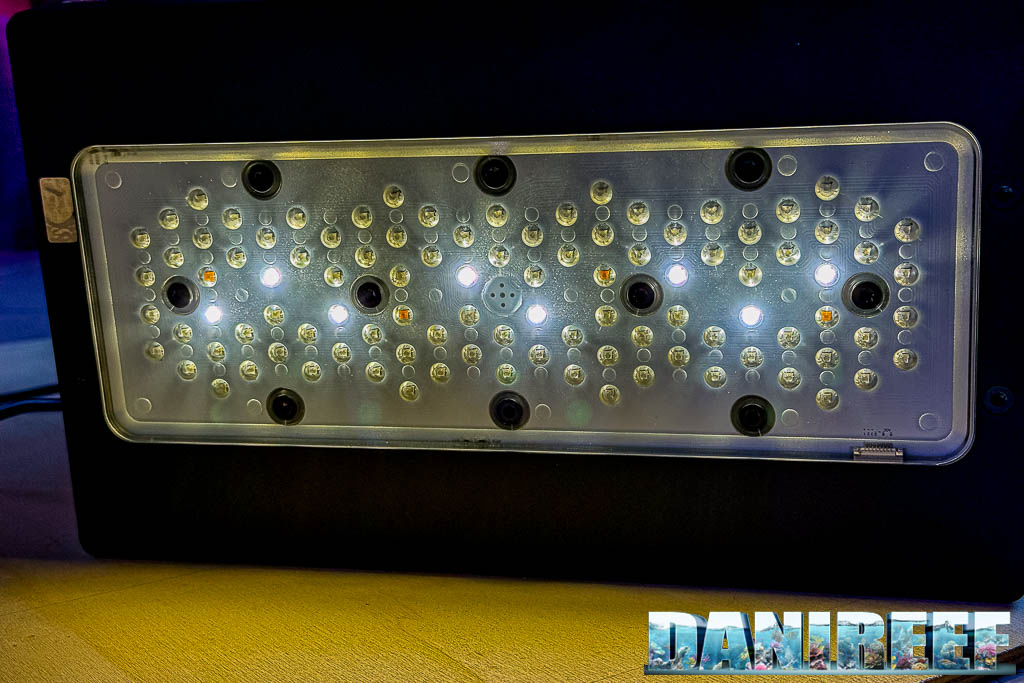
Final Result
Below you can see the fixture with all LEDs turned on.
How to program the A8 Pro II Blue v.20250728
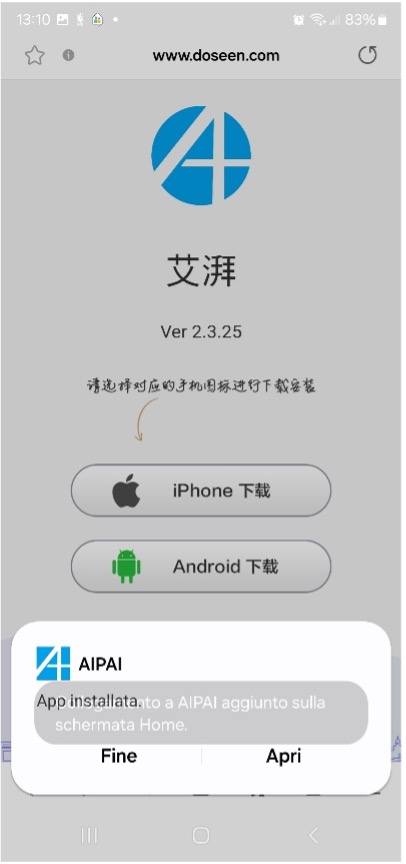
Andres guides us through the programming process. To use the fixture, you need to install the AIPAI App, available both on the Apple and Android app stores. It can also be downloaded by scanning the QR code on the lamp’s packaging.
Once downloaded and installed, open it and set the time zone (for Italy this is +1 UTC).
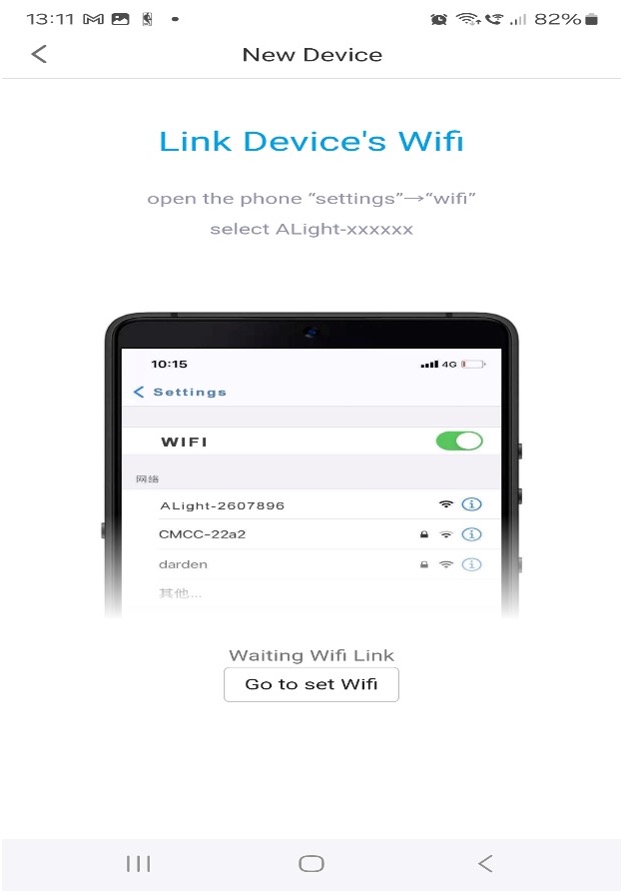
Next, click the “+” symbol at the top right to enter the Wi-Fi settings, stand near the fixture, and look for the Alight network followed by the serial number of the lamp. If you own more than one unit, the configuration must be done one at a time, repeating the same steps. The Wi-Fi network will appear like “ALight-*****”.
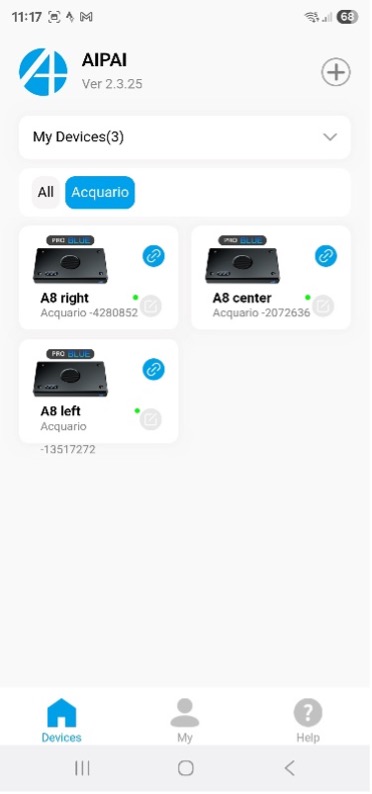
Select the desired one and return to the app: the fixture will now be added. At this point, you need to restart the app and click on the lamp to enter its configuration. If you own multiple tanks with these lights, you can create groups and name them as you wish, for example Aquarium-1, 2, 3, etc.
When entering the configuration of a single lamp, the app will automatically update the time based on the time zone you set earlier.
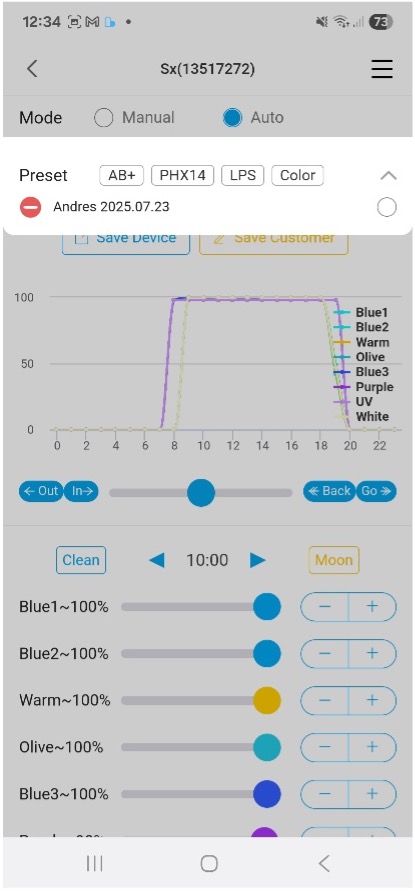
You can choose the manual mode and set each of the 8 channels individually, adjusting on/off times, ramp-up, plateau, ramp-down, and shut-off — all at your preferred intensity hour by hour. Alternatively, you can use the convenient presets and select the type of animals (Soft corals – SPS – LPS), choosing what you prefer in terms of color, coral/fish growth, and health. These presets already include ramp settings, but you can also modify them and save your own custom profile with a personal name/code.
The lamp also allows you to generate storm effects and moonlight. The process is a bit cumbersome but offers a complete range of settings for any requirement.
Once saved, the configuration can be applied to any number of fixtures. But in case of trouble… trouble indeed! Because while everything seems perfect — a well-built lamp, attractive design (practically identical to the Radion G6), great light output, and flexible though cumbersome programming — there is one critical flaw:
⚠️ If power is lost for just 10–20 seconds, the configuration is erased. When electricity comes back, the lamp restarts with its default preset. This is quite frustrating, since restoring it requires deleting the lamp from the group (e.g., Aquarium-1), because the app no longer recognizes it, and repeating the entire initial setup. ⚠️
The only partial relief is that if you saved a custom configuration, once the lamp is re-added you can reload the settings and make it run again fairly quickly. Still, this software bug (easily fixable by the developers, in my opinion, but still present today) can cause problems and potentially harm the animals in your tank.
All the measured values and our full testing methodology — based on the Apogee MQ-510 and PARwise PRO — are available on page two of this review.
Scopri di più da DaniReef - Portale dedicato a Acquario Marino e Dolce
Abbonati per ricevere gli ultimi articoli inviati alla tua e-mail.

 presentano il futuro al CIPS 2025")


